Showing posts with label Sewing. Show all posts

July 26, 2013

Pennant Banner {How To}

I have had lots of people ask about the banner I used in my cake smash photo shoot. It was so simple to make so I thought I would share some quick steps. 


First off: I bought a 1/4 yd of each fabric and had plenty of fabric for a 3yd banner, so if you don't want extra fabric gets less than 1/4yd.

  • Fold your piece of fabric in half(wrong side together) and cut your triangle. You can really cut it any size you want depending on how you like your triangles to look. I did 4" across the top and 6" long.
  •  I wanted my banner double sided, that's why I folded the fabric in half so I would have two triangles cut at the same time and ready to stitch together. Fastest is best, I tell ya!
  • Now with your two triangles you just cut out(that should still be wrong sides together) stitch a long straight stitch 1/4" for the edge down both the (6") sides of the triangle.
  • Once I had five triangles of each color sewn together and ready to use I started assembling the banner.
  • Using (pre-made) bias tape, folded in half, I just placed my triangles right into the fold and straight stitched down the center of the tape. Laying one triangle right after the other, until I ran out of tape.   

I'm sure I will be making many more of these banner (they are perfect for my photo shoots) so next time I will take step by step pictures. Until then, hopefully you can understand these steps. 


As for the cake, don't be fooled, It was super easy.
I just watched this how to video here and I was ready to go. I didn't even have the exact petal tip shown in the video(mine had a curve in it) and it still turned out great!

Not perfect, but cute enough for a smash cake photo shoot.


If you missed the carnival party decor check it out HERE

June 30, 2012

Ruffled Crib Skirt {BOYS}


I Finally finished sewing the crib bedding, and I'm in love!! I must say it was way more adorable before I put the crib rail on...now the rail kind of hides the cute ruffles, but I'm still in love!

Who says boys can't have ruffles on their bed?
 Still need to make one more rail cover for the front of the crib...but I'm pretty sure this little guy won't be born with teeth, so I have a while to get that one done!
 If you missed the rail cover tutorial it's here, or if your just wondering what in the world the rail covers are for...see pictures here as well.

...Oh yeah, and I should probably figure out a name for this little guy so I can add that to the wall too, then I think we will be ready for him!
  I used the crib skirt tutorial from Positively Splendid. Just a tip, the instructions are for a four sided crib skirt, so if you want to spend a little less money/time you probably could make it three sided(since the back usually doesn't get seen). And make sure you read through all the instructions before you get started...your working with LOTS of fabrics and the instructions can get a little confusing if you don't figure out exactly what your working with from the beginning.

Here is the finished product before I put it on the crib.

It was quite the project for a crib that actually won't be slept in for several months, since the baby will be in the craddle, but if I didn't finish it before the baby got her I probably wouldn't have done it at all. SO HAPPY IT'S DONE! This room is coming together and I'm loving it, can't wait to share pictures soon!

June 26, 2012

Crib Rail Covers

What's a girl to do when her first child chews away the railings on his beautiful crib?

Well not leave it like that for the next kid, that's for sure!
(Sorry for the extra blurry picture...not sure how that happened)

I have seen lots of rail covers sold that probably work great, but there just extra tacky. So I decided to come up with a cuter version of a railing cover, that does it's job while looking extra adorable!


I figured out what size I wanted my rail covers to be and quilted a piece big enough that I could cut it in half and have two rectangle strips for each side of the crib.

I finished off the edges by folded them under and sewing 1/4" all the way around the rectangle strip. I didn't really care what the underneath side looked like because know one will see it, but if you care you may want to give it a more finished look.

I made 4 fat ties and 4 skinny ties to sew to each rectangle that will help to secure the rail cover to the crib. The fat ties I cut 4"X 20" and the skinny ties 2"X 20", so after I sewed them into strips the finished sizes of the ties were about 1" and 2" wide.(I wanted mine to be secured with big bows, so I made my strips longer, but if you just want them tied on or secured with velcro you may want to shorten the length of your ties). 
 Sew your ties onto the underneath side of your  quilted rectangle, make sure you lay your rectangle on your crib rail to figure out exactly where you want your ties to be. 

All done, now be happy that you won't have chewed up railings on your beautiful crib.


May 28, 2012

DIY Coin Purse

I found a very simple tutorial over at Splendorfalls for a coin purse, so I tried a couple of them out for mothers day gifts and they turned out adorable! So simple to make, and of course you can use them for pretty much anything you would like..not just coins. But the size  of the bag in the tutorial are pretty small(just like coin purses) 

 I went ahead and made three they were so simple to make. But the third one I made extra large so I could use it for a makeup bag....doubled my batting for stiffness, and it works like a charm!


May 7, 2012

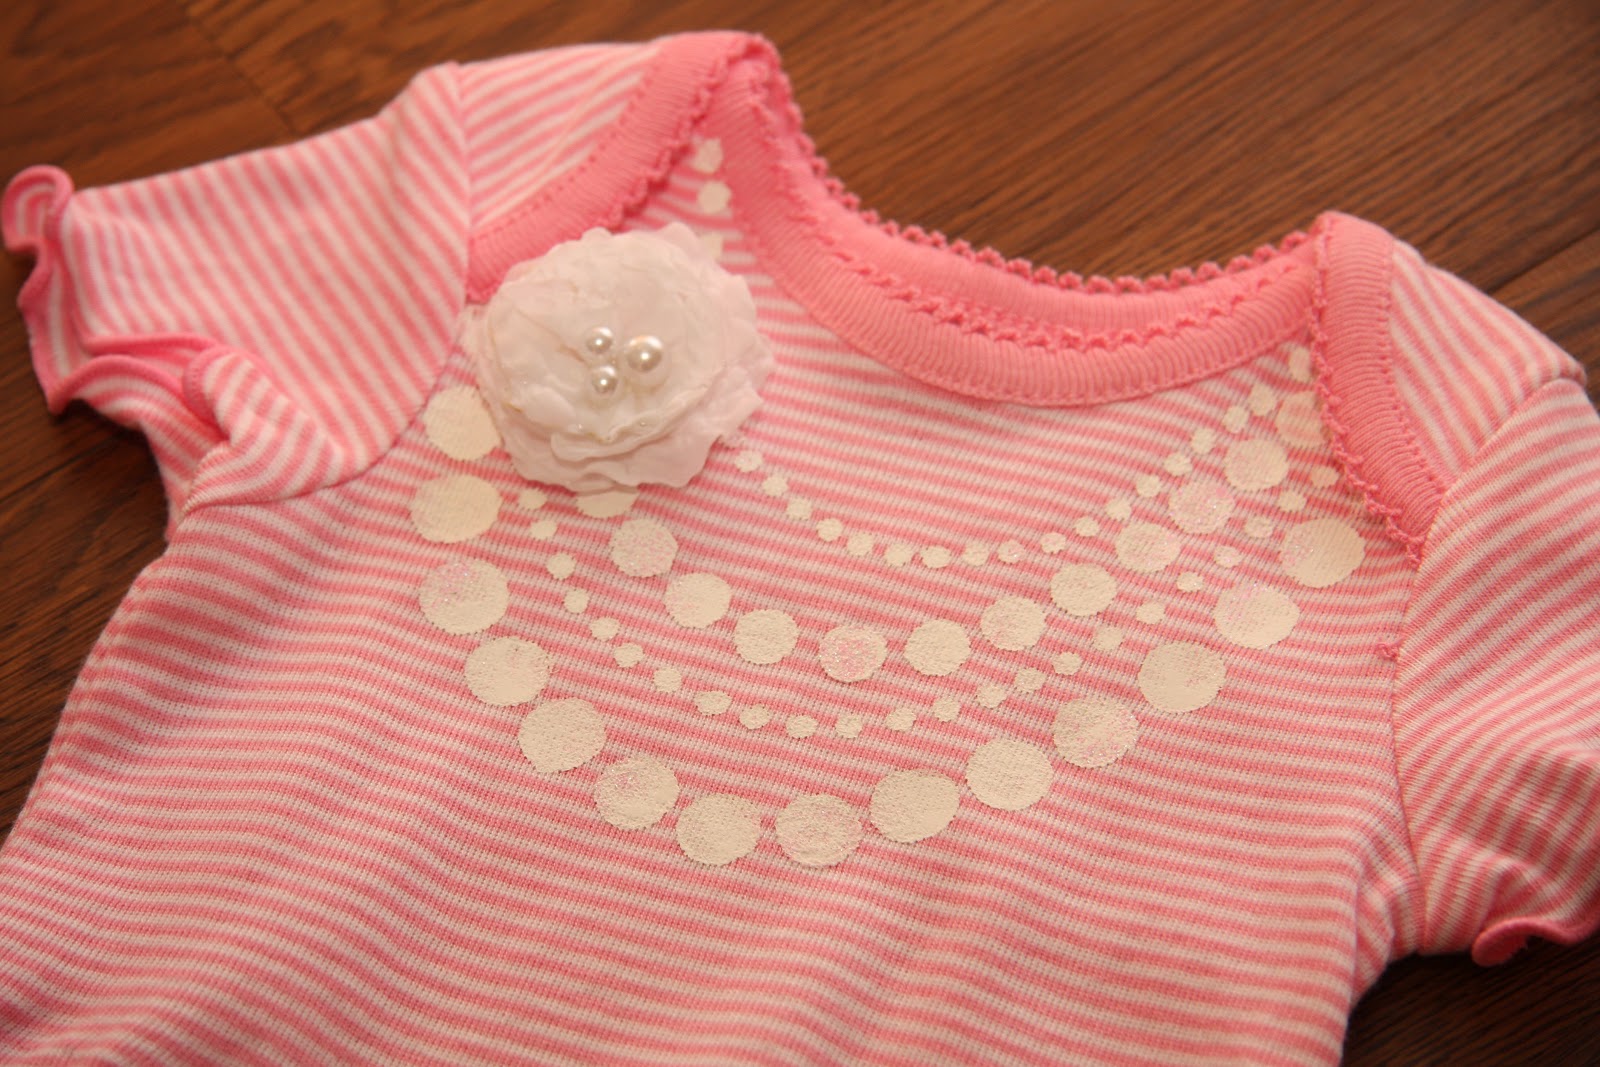
Painted Necklace Onesie


I was to excited throughout this project to stop and take pictures, so I'll just explain how it all went down!

Using regular acrylic paint, and the ends of three different sized paint brushes, I dipped the brush end into the paint and stamped it onto the shirt (make sure you put a piece of cardboard inside the shirt so the paint doesn't bleed through the back). Pretty simple huh? After it dried I did one more coat for good measure!
 (Sorry no tutorial for the ruffly bum this time)
 The flower is also detachable so you can take it off when you wash the shirt.

After your paint has dried completely, lay a brown paper bag or parchment paper over the pained area and iron it. It kind of heat sets it....(melts the paint a little & helps it stay on the shirt better).

Now go make about a million of these adorable little shirts, even if you don't have a little girl...like me! You will have very happy little niece's!

April 18, 2012

Chevron Curtains {DIY}

So I’ve been obsessing over chevron stripes for a long while now, and as soon as I decided to start the nursery makeover I had to incorporate the stripes somewhere. I decided on curtains so there would be plenty of fabric to show off the chevron stripes, so I went with it.

I found the prefect material on fabric.com, exact color I wanted, and it was nice and thick 54” home decor fabric. I found a promo code and got free shipping so when it was all said and done I got my fabric for $6 a yard…SCORE! I was a little skeptical ordering fabric online for the first time, but when it got here it was PERFECT and everything I hoped for…you should have seen me, I was like a little kid on Christmas morning unfolding my fabric! Hours after it arrived I was already done with the curtains!


 I left each panel 54" wide and cut them the same length as some other curtain panels I had in my home. Once you get your two giant rectangle panels cut out your half way done!


I was being lazy and wanted this project to go faster then it should... so I didn't cut off my end salvage(bad me), mainly because it gave me the PERFECT guide for ironing a straight line, and man was it nice & fast!!! 

After I hemmed my two sides and bottom I made about a million(OK only 14) 3"wide strips to use at the top to of the curtain to hang the rod. (At this point I had my top ironed but not sewn, so I could still sew loops into the top as I went).

My strips were about 3"wide and 6" long

 
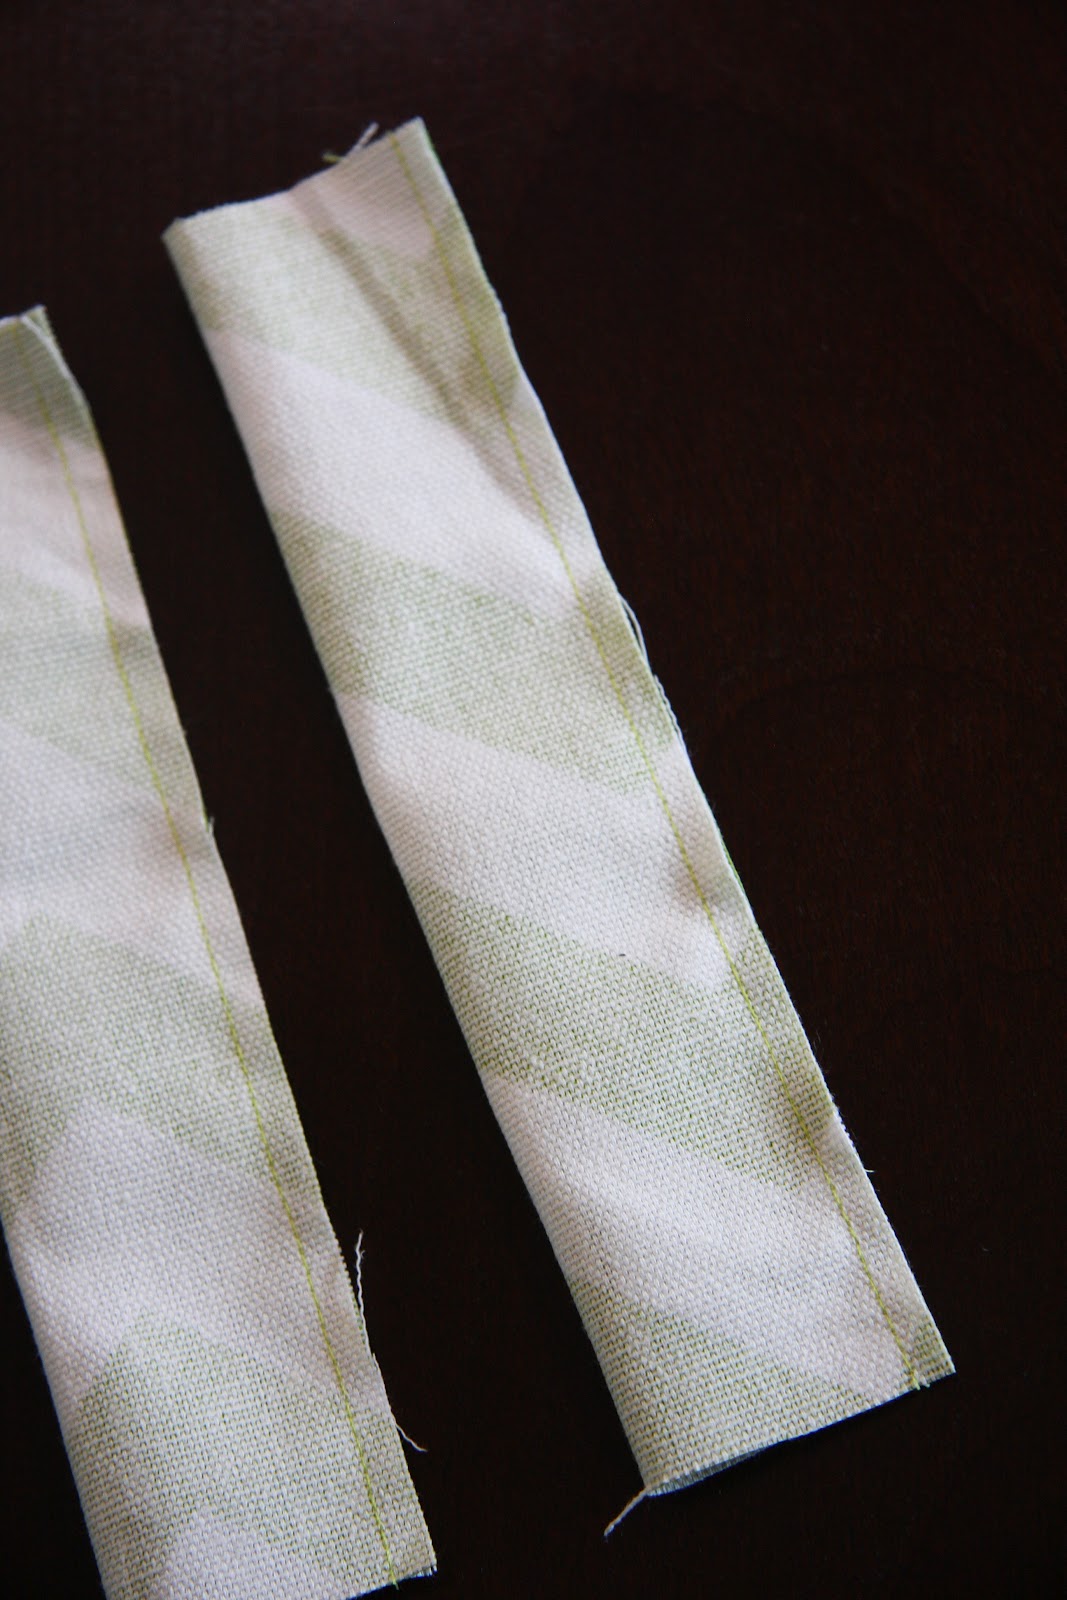
 Iron the two ends of the strip into the center.
 
Using the strips you just ironed, Pin one of the folded ends to the top of your panel and tuck the other end of the strip under the top hem that is still open.
 
 I pinned all of my loops exactly where the loops were on my other curtain panels. Then I finished off the top hem by sewing a 1/4"from the side(on each side) to hold my strips in place making my loops. (As you can see, my loops ended up being a little longer than I needed so I had a little hangover tab)

I'm super happy with the curtains, and since there one of the first things finished in the room makeover they get me excited to finish the rest of the room every time I look at them!!

December 13, 2011

Bean Bag Name

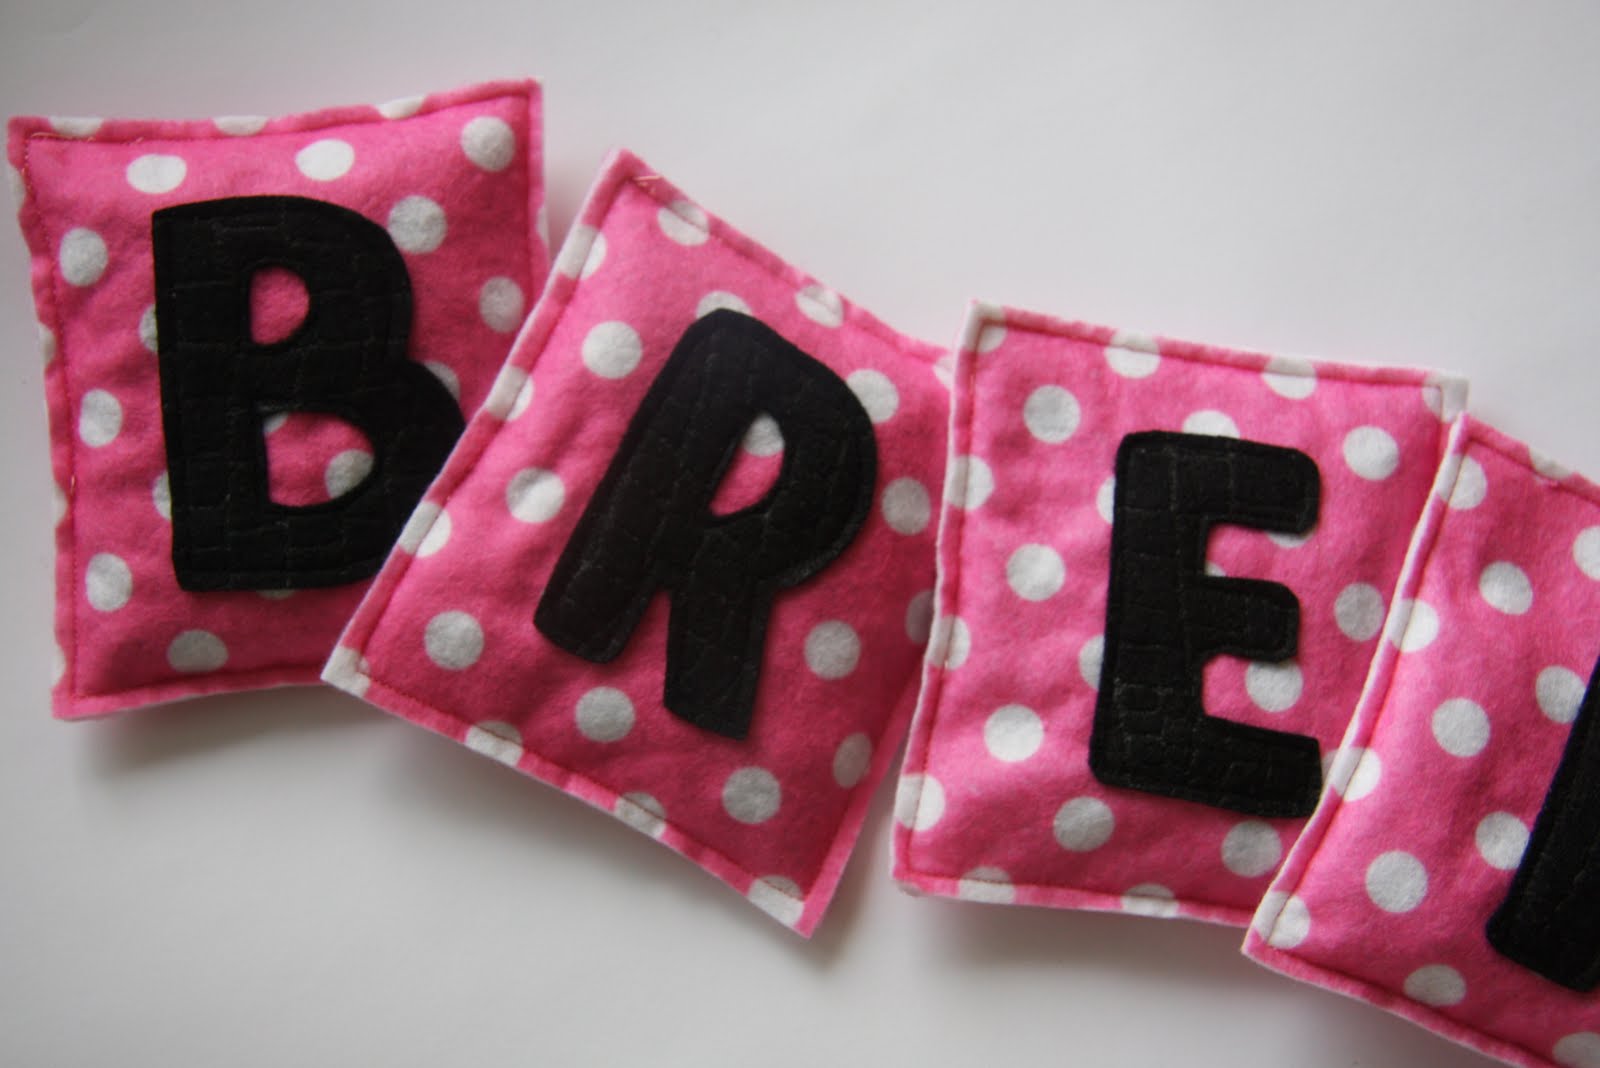
Looking for yet another idea for a cheap stocking stuffer? Well pull out your felt and get a move on, the kids will love some personalized bean bags and you will love how fast you can whip these up.

For a seven letter name I used 3 sheets of felt for the bean bag portion and 1/4 of a sheet for the letters.

My sheets were 12 X 9 so I cut (3) 4" strips out of a sheet.

Cut each strip in half, leaving you with an almost square 4 X 4 1/2".

I cut out the letters I needed on my Cricut and pinned them onto my piece of felt, that way my letters would all be the same size and in a cute font.

Then pin the felt letters onto each of the felt squares. Sew around the letters securing then to the felt, now your ready to sew your bags.

When I'm sewing felt I don't worry about sewing right sides together, one less step to worry about and I think the raw edge of the felt looks fine. Line up two squares (wrong sides together) and sew around edge leaving a small opening to fill with beans.

I put about a 1/2 cup of beans in each bag, sewed up the hole on my sewing machine and your done...fun little bean bags to fill a stocking for the kids! They will love tossing them around and seeing how many words can be spelled with the letter of their name.

November 21, 2011

Toy Story Finger Puppets

My son was invited to a Toy Story themed birthday party this week so we were racking our brains trying to come up with something a little 3year old would love. I knew that the birthday boy had a few finger puppets that he loves, and he's also adores Toy Story, so what better gift then Toy Story finger puppets.

First I had to decide which characters would be the easiest to make in finger puppet form. The winners...Alien, Lotso, and a rocket ship(for alien of course). Using felt I cut out all of the pieces that I needed to make up my puppet. You can either sew each individual piece on, or hot glue them on, whichever you prefer. I sewed Alien, but I was running out of time so I hot glued Lotso and the spaceship pieces to them.

When sewing on the pieces that will be on the outer edges of the finger puppet, such as the arms, ears, wings of the rocket, make sure you lay them to the inside of the puppet before you sew the outer edge.

After all your pieces are in place, lay right sides together and sew around the outer edges.(I backstitched a few times at the ends, just to make sure the felt wouldn't come apart after they got played with a few time). Flip the puppets right-side out and your done.

I used permanent markers for Alien and Lotso's mouth and eyes.

I know when your young homemade gifts can be kind of lame, but since he's only 3 I'm hoping he thinks there cool, because I sure do!
Blogging tips