Showing posts with label Paint. Show all posts

June 4, 2013

A Dresser Makeover

Ever since we welcomed little man #2 into our home{almost a year ago} we have been in desperate need of a new dresser (we have nowhere for all these little man clothes). Now folks...I. AM. CHEAP. But just because I'm cheap doesn't mean I don't have taste. I wasn't about to go spend a hundred bucks on a dresser that I didn't love.
I had this vision in my head and it wasn't going anywhere.

I knew what I wanted and I was going to find it.

I scammed craigslist forever (Ok, more like a year or two). Finally found this gem, made my offer, and had it in my home and completed before the week was up!


I try to spray paint everything (because spray paint rocks) but I knew it would take a lot of spray paint, so I went with a can this time.
1 Quart of Valspar (interior paint/primer) in Cookie Crumb covered the whole thing perfectly. I even coated the drawers 3 times each. I also don't normally sand but I figured this dresser would get banged up enough that a good sanding would only help my cause.
And I of course finished it off with black antiquing glaze...because black glaze makes everything look better ;)
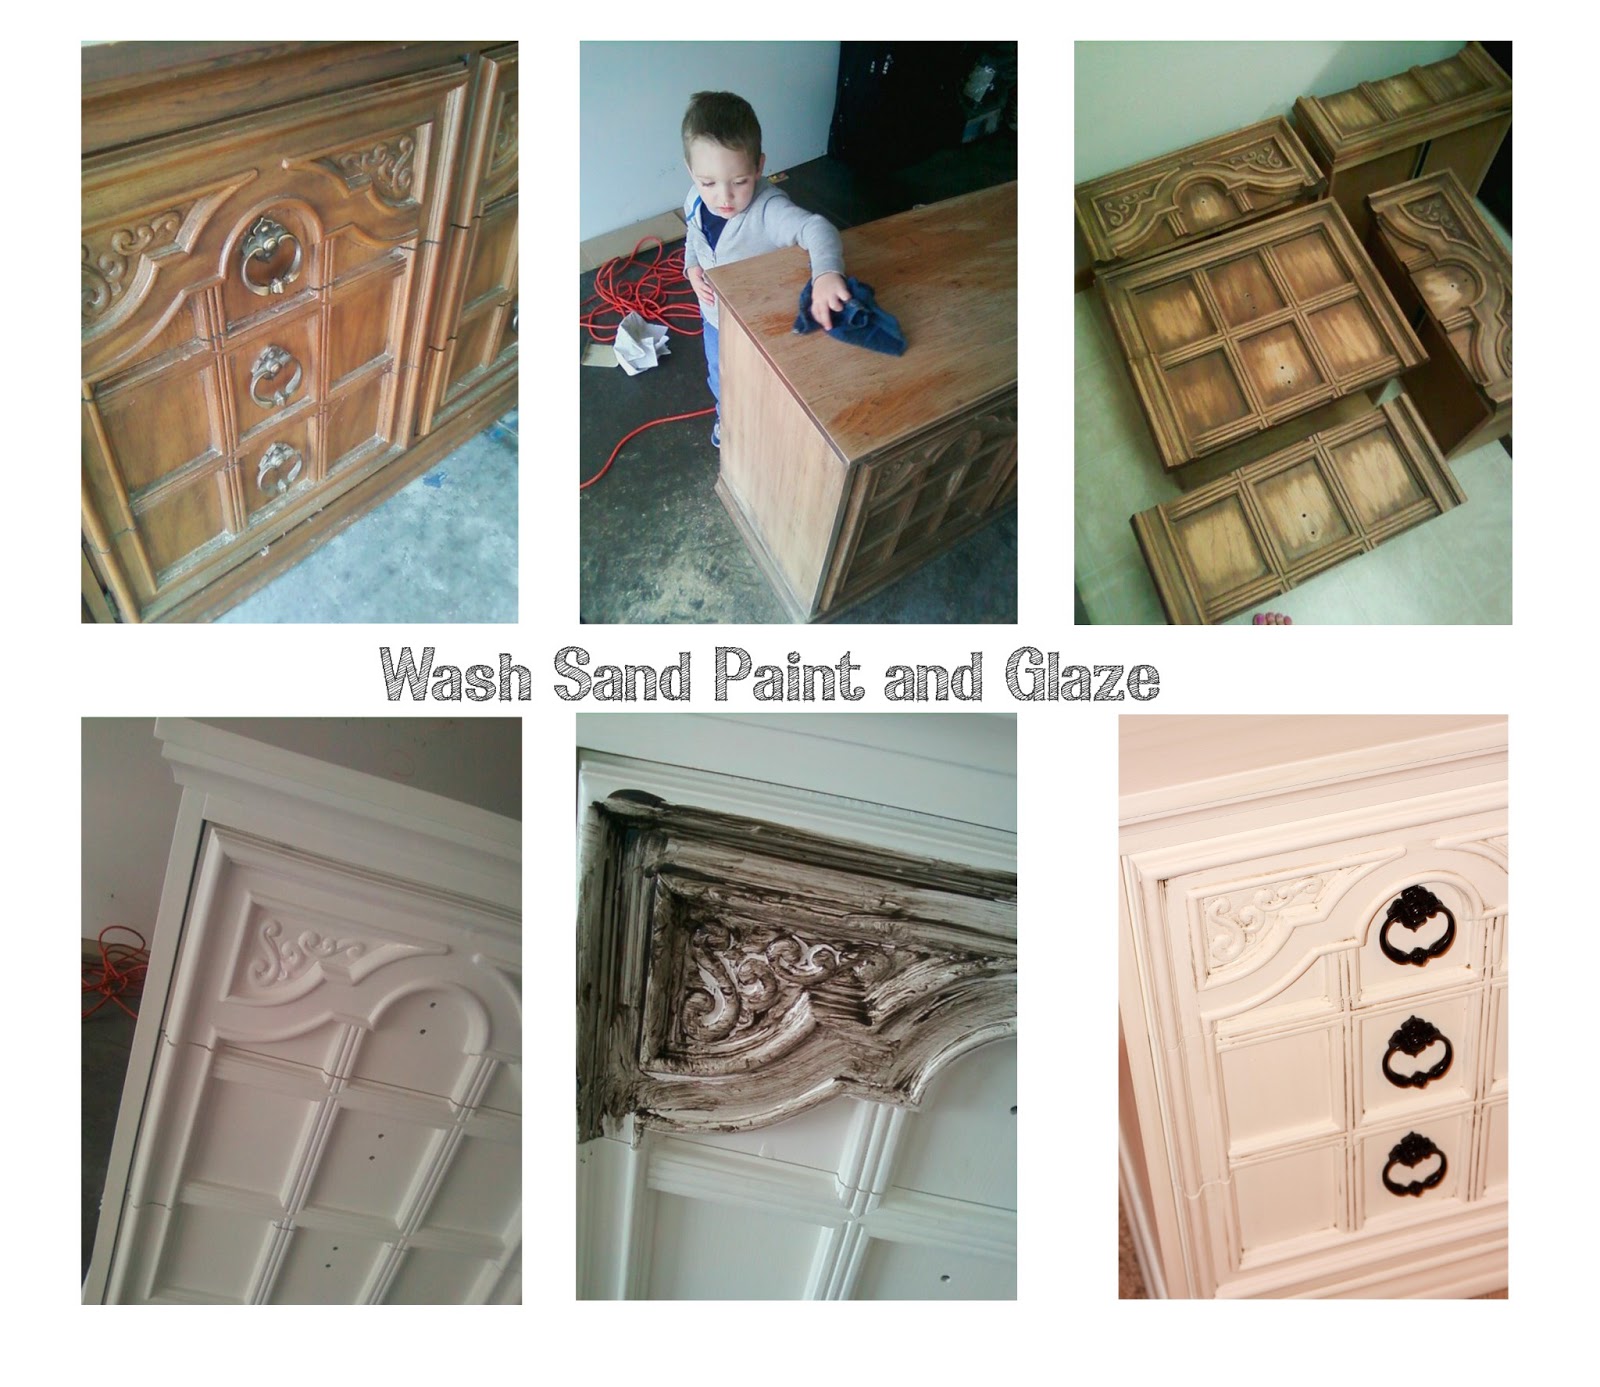


Completed the whole project in less than $60 (even that kind of seemed pricey to me)haha now you know how cheap I am!

March 28, 2013

Framed {Chevron} Egg

Can you believe Easter is in 3days?
Where has time gone, seriously. It seemed to have just snuck right up on us.
I wanted to come up with something fun and new...and fast, since I will only have the rest of the week to display it. 

So here it is folks, the perfect last minute project.

Supplies:
  • Burlap
  • Acrylic Paint(the cheap stuff I had laying around the house) & paint brush
  • Frame

I cut out all my stencils on my cricut, but it would be fairly easy to paint this without a stencil at all...or use a printer to print your shapes and cut them out. That's up to you!


I actually cut my egg shape out of laminate paper and stuck it to the burlap(I just forgot to take pictures). This way you don't have to worry about the paint bleeding through the paper.
So lets pretend that the yellow paper is really my laminate paper:)
...(and don't mind my sons little drawing).  
After my laminate egg stencil was placed I painted 1 coat of white and let dry completely.

I made myself a little chevron stripe stencil(out of chipboard) that I use {and re-use} for every project I can think of. Yes, I am that obsessed with chevron.

I traced my chevron stencil (with a pen) over the entire white egg. Then very carefully, (by hand) painted every other stripe the color of my choice.
 
This took less than 1hr start to finish.
Go grab a scrap of burlap, a couple bottles of paint, and you'll have yourself a cute new decoration just in time for Easter!

March 1, 2013

Clover Pillow

{It's March}!
And we all know what that means...time to pull out your St. Patties day decorations.
Mine are lacking so I thought I better get busy making a few things!

No, tutorial this time. But no worries, it's so simple you'll whip it out in an hour.

I cut out a clover stencil with laminate paper using my Cricut(seriously, get yourself some laminate paper...I've used it for who knows how many crafts projects...it's so great to have on hand)!

  • Paint the clovers onto your burlap(In a line, square, just one...)
  • Let dry, then trace on your design(I went with chevron, because I'm still obsessed with it). Who doesn't love a little splash of chevron.
  • I hand painted my stripes then finished it off with an outline of gold puff paint.
  • Finish it into a simple square pillow(or pillow case, like I did). Or throw it in a cute frame and hang it on the wall.
Quick, and cute piece to add to your St. Pattrick's Day stash.

update: I loved how the pillow turned out so I went ahead and made a matching clover to frame.

What kind's of St. Patrick's Day decor do you have in mind this year?


June 28, 2012

Dumpster Deal {Frame Makeover}

Don't you LOVE it when you go to take your trash out and you find a SWEET piece of potential in the dumpster! I mean come on who would even throw this GIANORMOUS piece of artwork in the trash. (Still had wrapping on it and a $200.00 price tag...WHAT??) I know, crazy right? I was kind of in heaven as I tried very discreetly to LUG this large beast behind our building and into my garage before anyone saw me.

Trust me people, pictures do not do this thing justice...It's LARGE beyond belief, like when I stand next to it it comes almost up to my chest. So I probably could have done something extra cool with it if I had a LARGE house...but I don't, so it would have looked real silly in my living room with a GIANT family picture in it (Although can you imagine how cool it would be to have a life size family picture?)

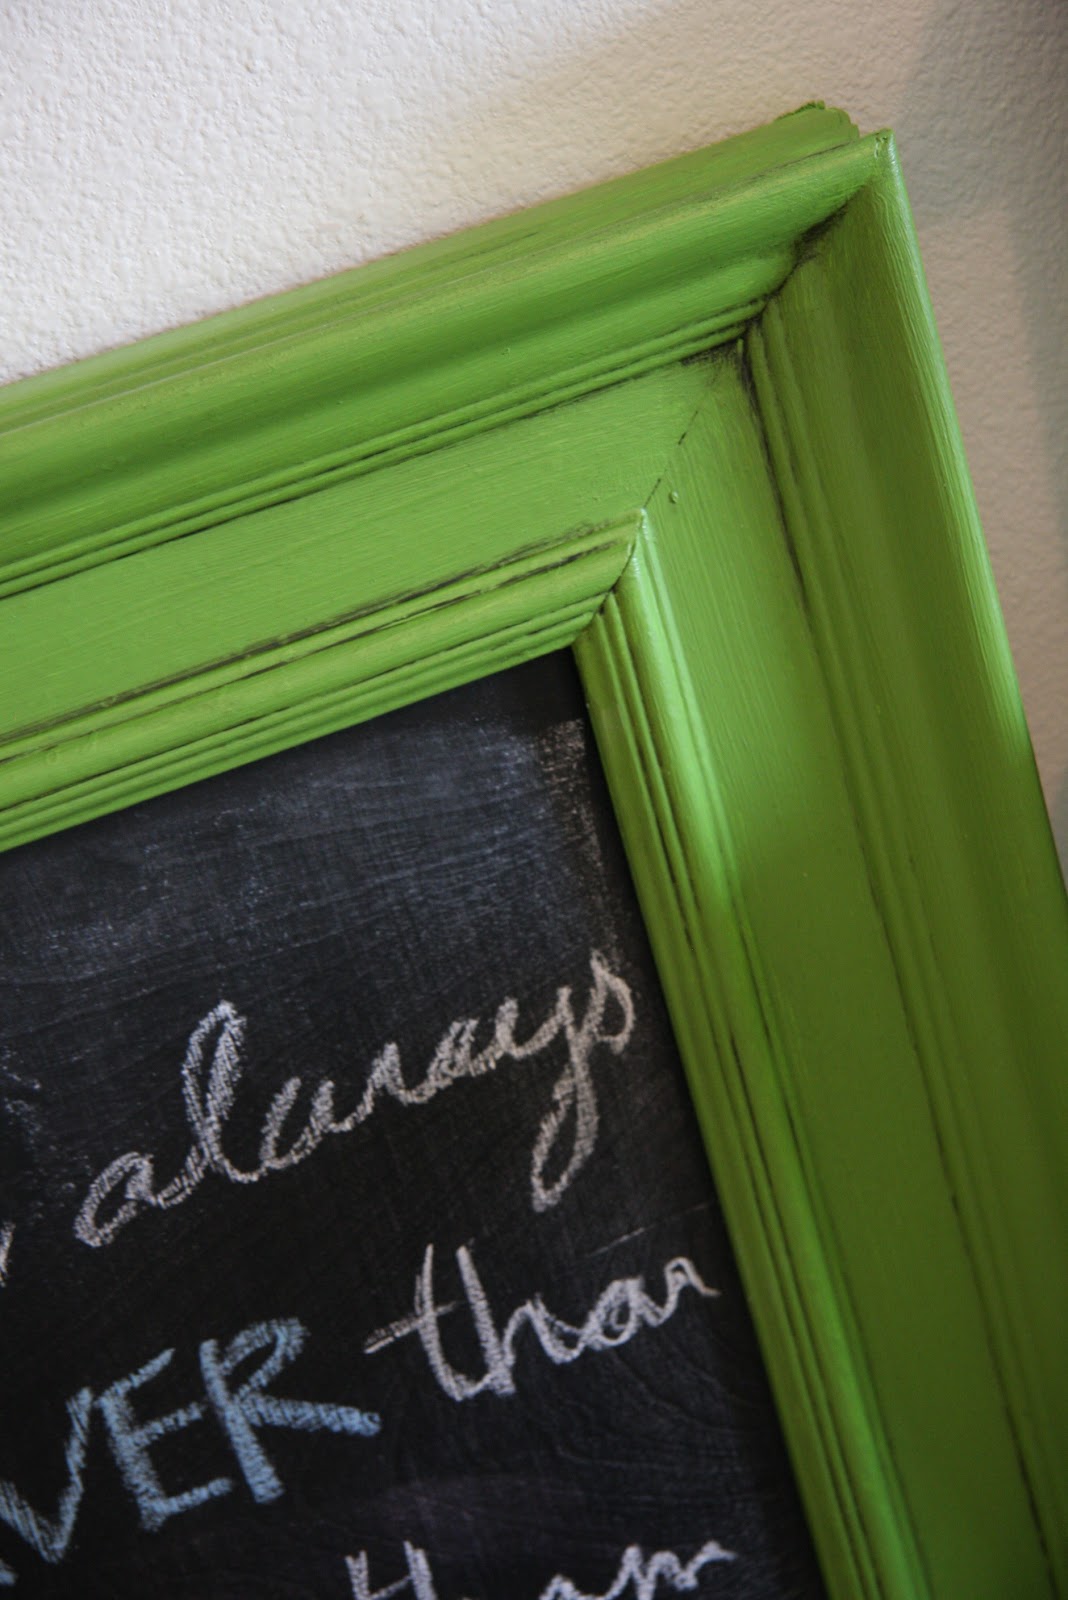
So an extra large chalkboard in my boys room was the next best thing. Turns out I LOVE IT...and so does my son.

 I wasn't to worried about painting the frame with heavy duty paint so I used a regular acrylic paint, A mixture of Martha Stewart "Green Curry", "Spring Pasture", & "Green Olive".
  
 Bought a piece of plywood from Lowes and had it cut to size, then painted it with Martha Stewart chalkboard paint. I Actually didn't prime it first, which might have been smarter, then I wouldn't have had to do as many coats, but...it worked out fine without the primer. I also glazed it when I was done to give it a little distressed look.

TOTAL COST = $25.00 (All supplies to make chalkboard & hanging tins)
The Tin buckets I found at Michael's on the sale rack, I just painted a little chalkboard paint on them to spice them up a bit and give them a label.


Now can we all give a BIG{THANK YOU} to the kind of people that throw away extra awesome things.
Oh yeah, P.S. Last week I got a grill out of the trash because someone didn't want to move it with them...and yes, we already had a delicious BBQ with it!

Don't worry I don't really dig in the trash for these things, people just leave them laying by the side!!!  

May 7, 2012

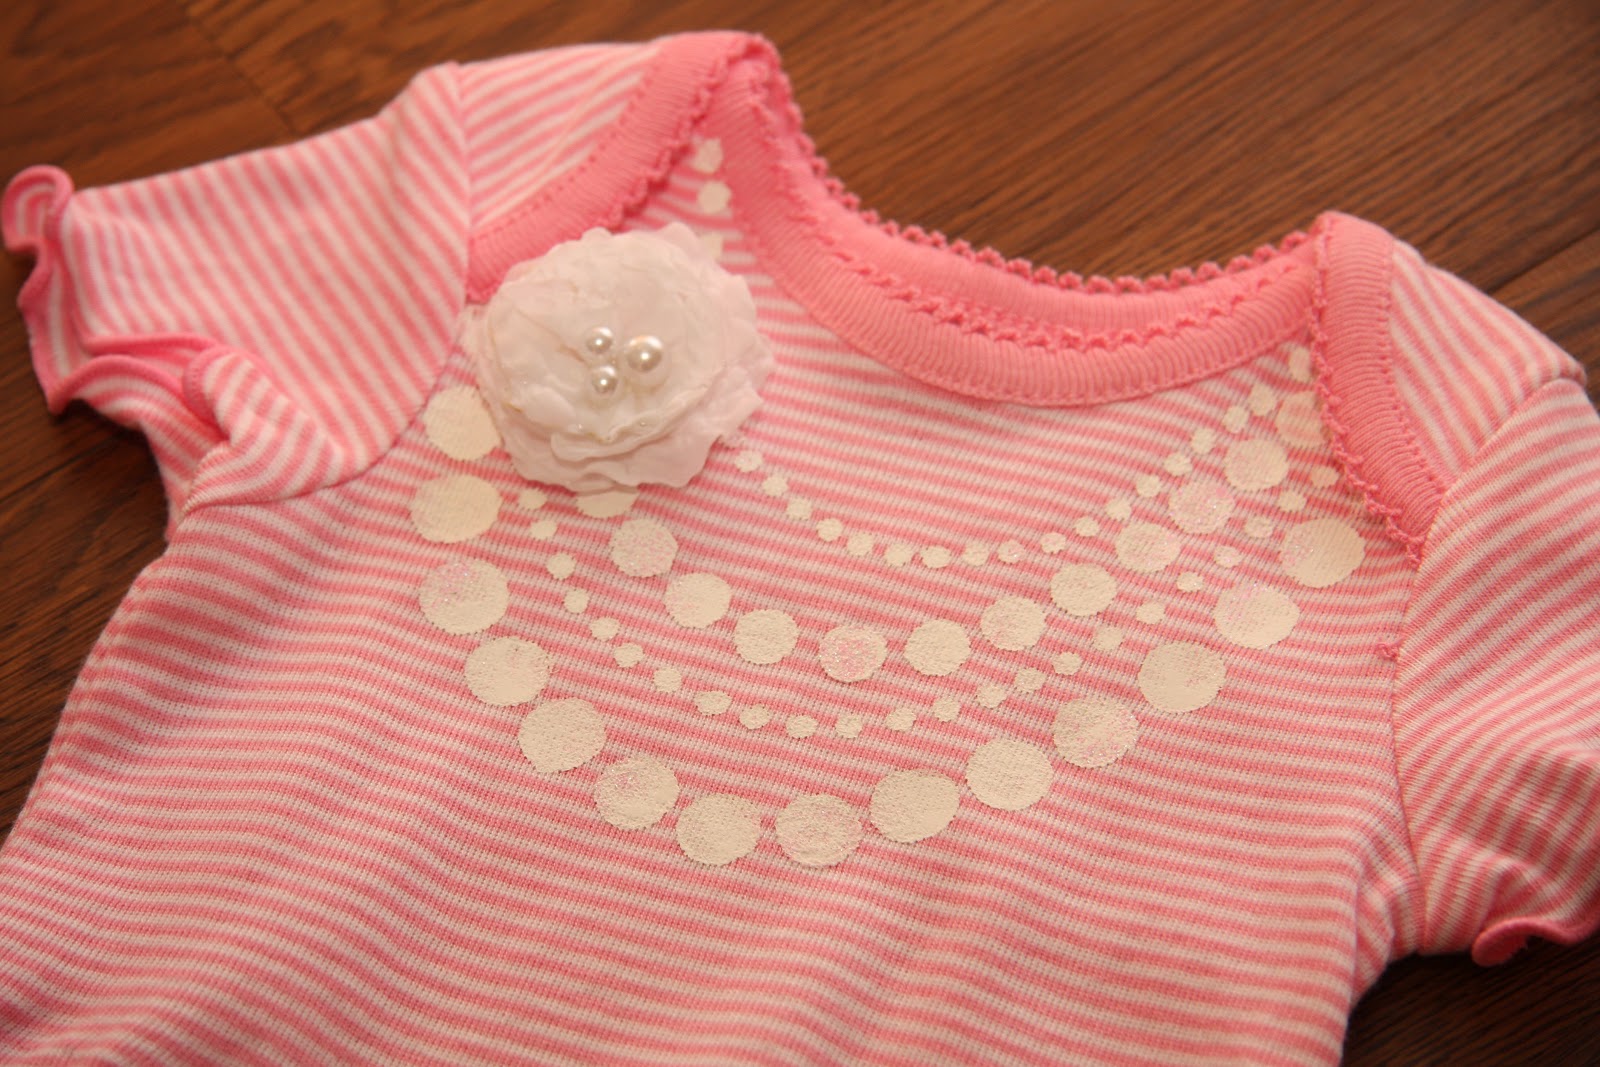
Painted Necklace Onesie


I was to excited throughout this project to stop and take pictures, so I'll just explain how it all went down!

Using regular acrylic paint, and the ends of three different sized paint brushes, I dipped the brush end into the paint and stamped it onto the shirt (make sure you put a piece of cardboard inside the shirt so the paint doesn't bleed through the back). Pretty simple huh? After it dried I did one more coat for good measure!
 (Sorry no tutorial for the ruffly bum this time)
 The flower is also detachable so you can take it off when you wash the shirt.

After your paint has dried completely, lay a brown paper bag or parchment paper over the pained area and iron it. It kind of heat sets it....(melts the paint a little & helps it stay on the shirt better).

Now go make about a million of these adorable little shirts, even if you don't have a little girl...like me! You will have very happy little niece's!

April 24, 2012

Painted Frame & Mat


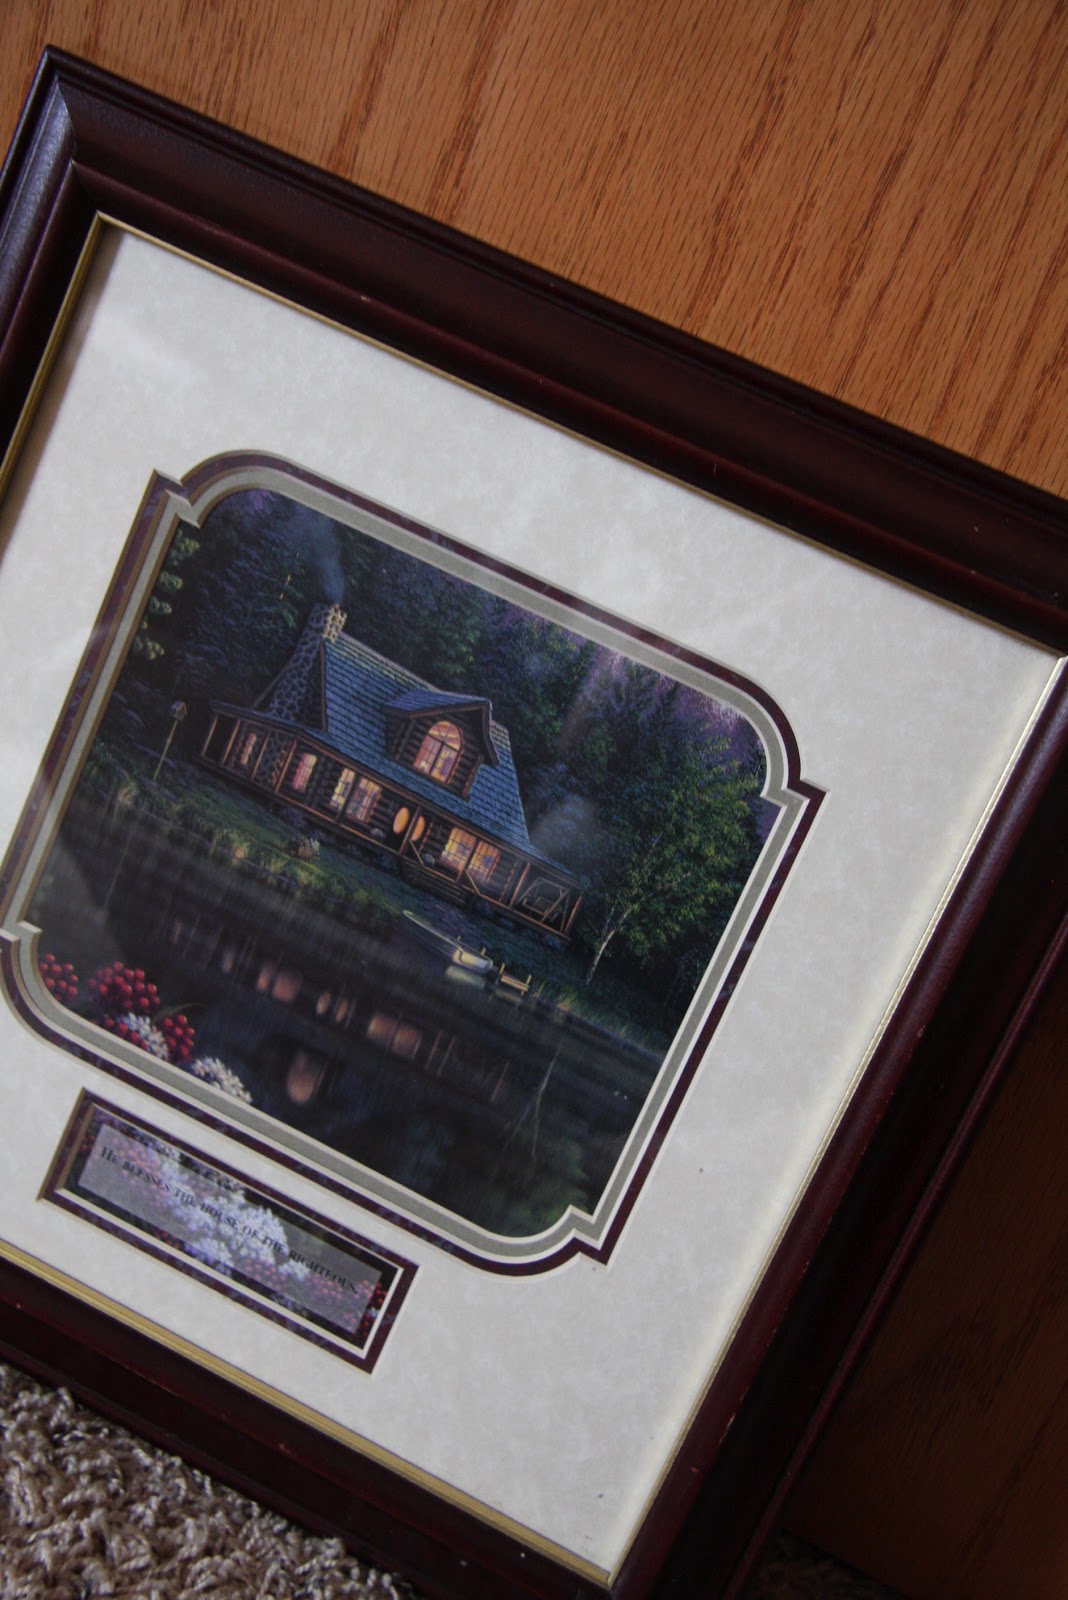
 I had this picture my mom gave me a few years ago, but I now have nowhere to hang it. It is a pretty picture and I love the shape of the mat so I wasn't about to get rid of it, it just needed a new look so I could hang it in the new nursery/toddler room! 


I cut out a chevron stripe on my cricut and used it as a stencil to trace the lines onto the mat. Then I painted...and painted. (Painting each layer of the mats a different color, which you can see in the picture below)

I Replaced the picture with some scrapbook paper for now....at least until I have an adorable picture of the little boys together(whenever new little man arrives). 

Because the curtains are chevron stripe, I didn't want to go to overboard with more stripes...so I think the painted mat was the perfect touch to bring in more chevron stripes but in a very small amount.

March 29, 2012

DIY Typography Sign

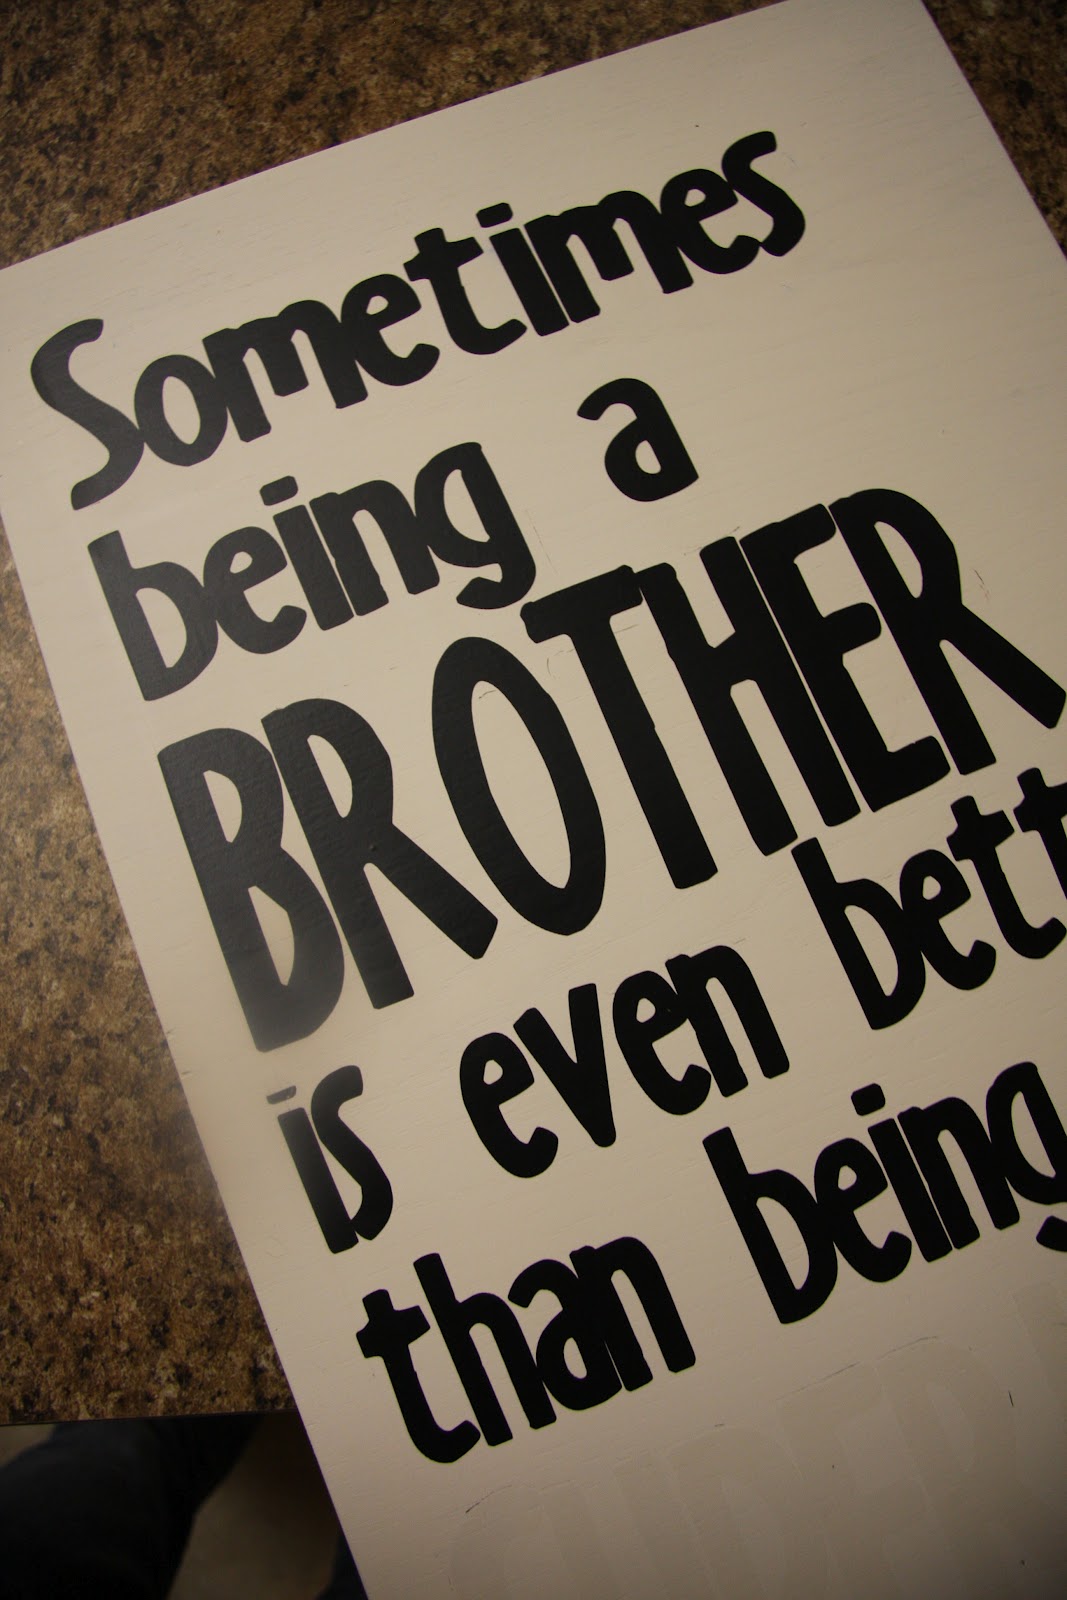
I saw this saying and fell in love...but not with the price these kinds of signs are selling for. So I made my own in under $2.00...YES I did just say $2.00

I asked my Father-in-law if he had any scrap wood and it just so happened he had 1 piece in his garage that was perfect size. (Let's be honest, this is a nice piece of pine and fairly big, so I'm pretty sure he was just being extra nice to me...cause this is one nice "scrap" piece of wood). He even sanded it and got it all ready for me to paint, he's too good!! The size of the wood is 15 1/2 X 24. 


I wanted to the words to be white so I painted the top...white, two coats was plenty. (I used cheap bottles of acrylic paint from Hobby Lobby)

After it dried I put the letters on it. I cut the letters out of vinyl on my Cricut, and used transfer paper to stick it to the wood. If you notice the word "SUPERHERO" I cut it out of that cheap roll of clear laminate you can buy at Wal-Mart. Because it's clear It was definitely hard to see the word through the transfer paper to make sure it's going on straight, but if your willing to take a little more time it works great.

After the words were on where I wanted them I painted a final blue coat (I think I did 2 coats of the blue paint as well). Wait for your sign to dry, peel off the letter carefully, making sure you don't pull the paint off the rest of your sign, and your done.
This is the laminate paper I used...Duck Laminate Peel and Stick Shelf Liner, Clear = $5.48 at Wal-Mart.(It's a big roll, you'll use it for MANY projects)
And if you can't find yourself a free piece of scrap wood, you can get a cheap piece at home depot or Lowes for $5-$10 and have your sign done in under $10-$20....much better than the $60 there selling for.

November 16, 2011

Dresser Refinish

Ahhh it's finished....and I'm in love!

My parents gave me these old dressers when I got married, there not even that ugly but I knew they had potential to be much cuter. So after years and years and talking about refinishing them....we finally did it. So I sanded the top down, I probably could have sanded way more than I did...but I was just to excited to get painting. Taped this bad boy off, and got down to the fun part.

I don't know why I had the two-tone idea in mind but it was one of those ideas that gets stuck in your head until it's actually done... so I went with it, so glad I did.

I used Krylon spray paint in Ivory, the first coat I used the primer/paint in one. Two more cans of paint and the dresser was covered. Then I finished it off with a black glaze to show off all the scraps and dings...makes it look a little more antique.

The handles aren't my favorite, but they will do until I can afford new ones....which may be so long I will just forget about changing them anyways.

And a HUGE thanks to my sweet adorable husband for all his help, I couldn't have done it without you;)
Blogging tips