
Don't you LOVE it when you go to take your trash out and you find a SWEET piece of potential in the dumpster! I mean come on who would even throw this GIANORMOUS piece of artwork in the trash. (Still had wrapping on it and a $200.00 price tag...WHAT??) I know, crazy right? I was kind of in heaven as I tried very discreetly to LUG this large beast behind our building and into my garage before anyone saw me.

Trust me people, pictures do not do this thing justice...It's LARGE beyond belief, like when I stand next to it it comes almost up to my chest. So I probably could have done something extra cool with it if I had a LARGE house...but I don't, so it would have looked real silly in my living room with a GIANT family picture in it (Although can you imagine how cool it would be to have a life size family picture?)
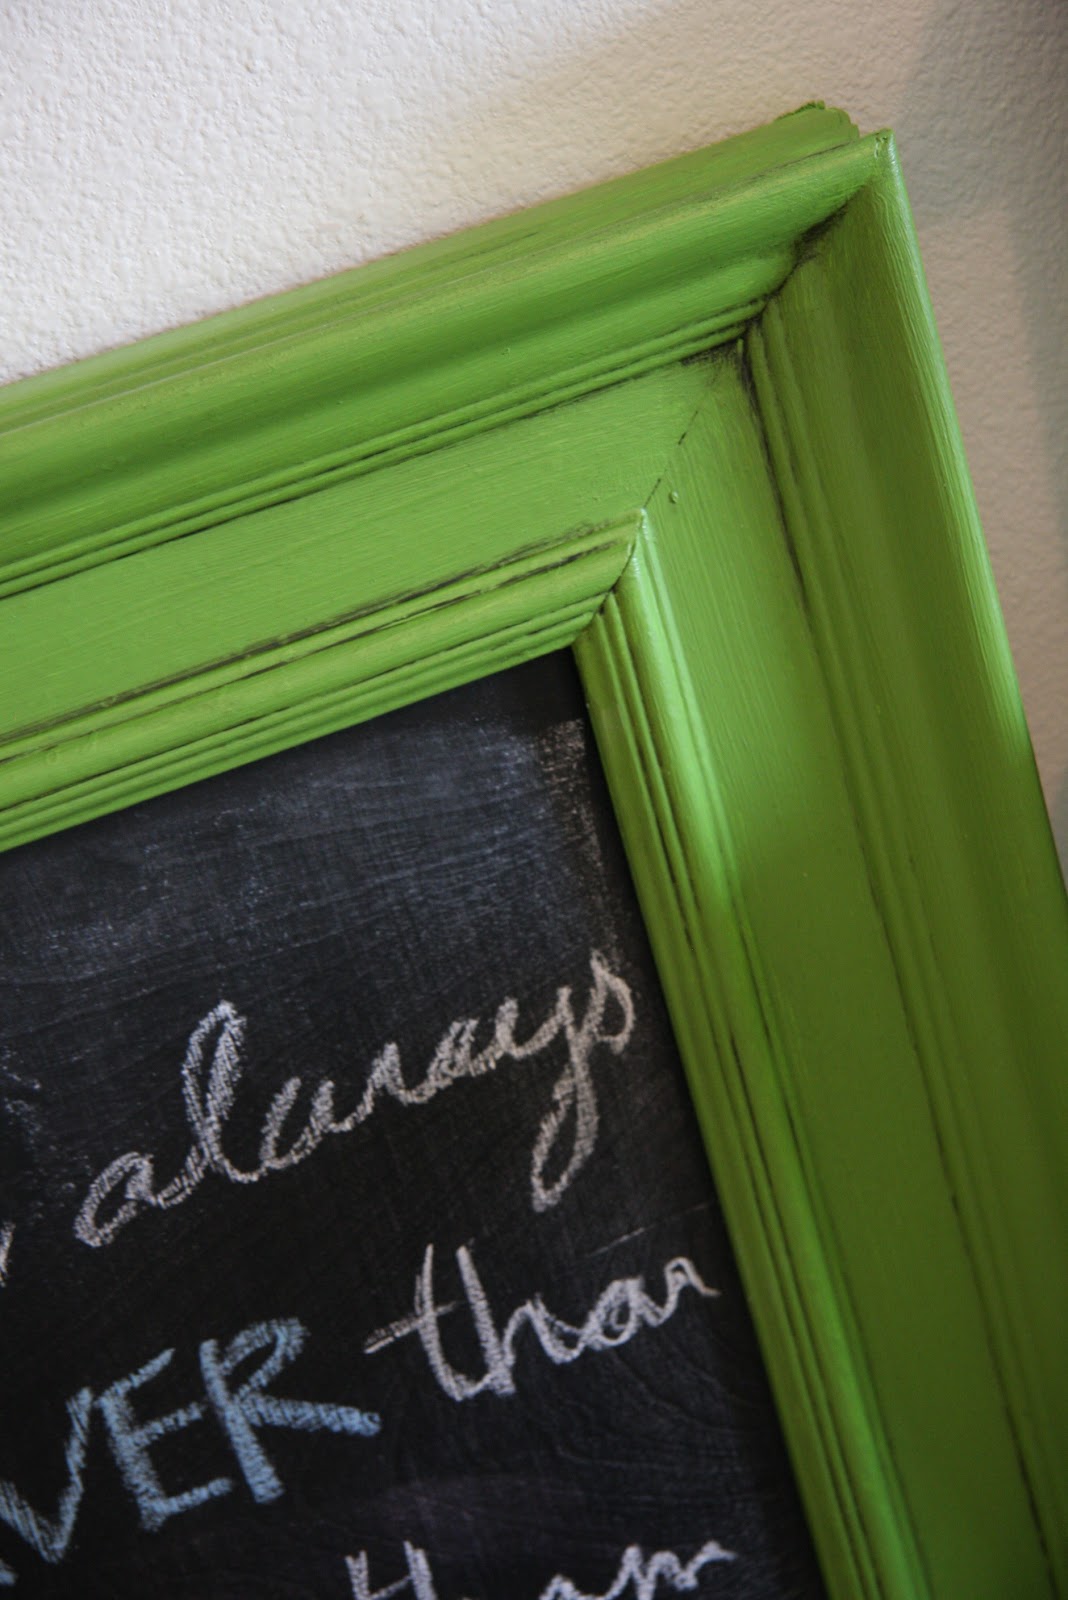

So an extra large chalkboard in my boys room was the next best thing. Turns out I LOVE IT...and so does my son.


I wasn't to worried about painting the frame with heavy duty paint so I used a regular acrylic paint, A mixture of Martha Stewart "Green Curry", "Spring Pasture", & "Green Olive".
Bought a piece of plywood from Lowes and had it cut to size, then painted it with Martha Stewart chalkboard paint. I Actually didn't prime it first, which might have been smarter, then I wouldn't have had to do as many coats, but...it worked out fine without the primer. I also glazed it when I was done to give it a little distressed look.
TOTAL COST = $25.00 (All supplies to make chalkboard & hanging tins)
The Tin buckets I found at Michael's on the sale rack, I just painted a little chalkboard paint on them to spice them up a bit and give them a label.


Now can we all give a BIG{THANK YOU} to the kind of people that throw away extra awesome things.
Oh yeah, P.S. Last week I got a grill out of the trash because someone didn't want to move it with them...and yes, we already had a delicious BBQ with it!
Don't worry I don't really dig in the trash for these things, people just leave them laying by the side!!!


