Showing posts with label For the Kids. Show all posts

December 13, 2011

Bean Bag Name

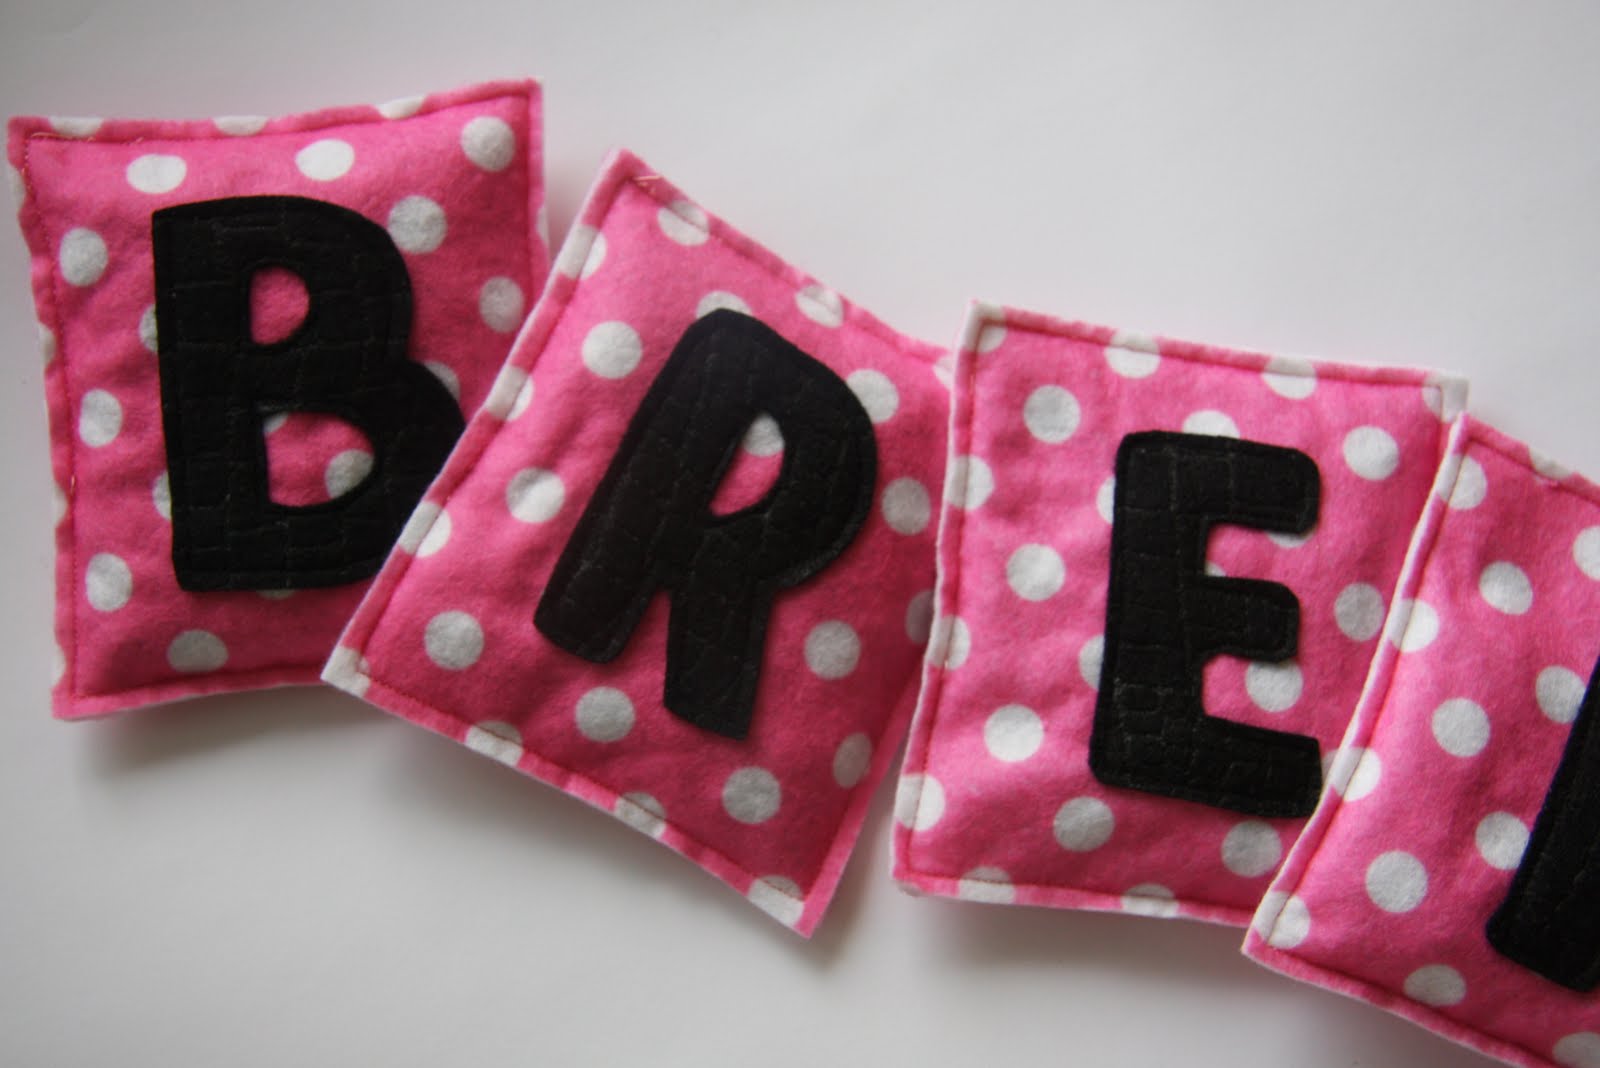
Looking for yet another idea for a cheap stocking stuffer? Well pull out your felt and get a move on, the kids will love some personalized bean bags and you will love how fast you can whip these up.

For a seven letter name I used 3 sheets of felt for the bean bag portion and 1/4 of a sheet for the letters.

My sheets were 12 X 9 so I cut (3) 4" strips out of a sheet.

Cut each strip in half, leaving you with an almost square 4 X 4 1/2".

I cut out the letters I needed on my Cricut and pinned them onto my piece of felt, that way my letters would all be the same size and in a cute font.

Then pin the felt letters onto each of the felt squares. Sew around the letters securing then to the felt, now your ready to sew your bags.

When I'm sewing felt I don't worry about sewing right sides together, one less step to worry about and I think the raw edge of the felt looks fine. Line up two squares (wrong sides together) and sew around edge leaving a small opening to fill with beans.

I put about a 1/2 cup of beans in each bag, sewed up the hole on my sewing machine and your done...fun little bean bags to fill a stocking for the kids! They will love tossing them around and seeing how many words can be spelled with the letter of their name.

December 1, 2011

Finger Twister

I have been racking my brain trying to come up with a few simple stocking stuffers and today an idea hit me. I saw these cute little finger twister boards but was not about to actually pay money for them... I figured It wouldn't be to hard to make something similar on my own.
So if your interested in making your own go ahead and save these images to your computer and print them out on a regular size paper, they will end up being 5X5-6X6in' squares.

All you'll need is the images of the twister board and spinner that you print out, some sort of cardboard/chipboard(you could even use a cereal box), glue, a spinner, and a thumbtack.

You can make your spinner from cardboard or any stiff object you can think of...I got lucky and found these plastic arrows in our gogurt box(a free gift to help you roll your gogurt). ha ha Bet gogurt didn't know how perfect they would be for my finger twister board!!

First cut out your boards and glue them onto your chipboard. If by chance you are using spray glue like I did, make sure you spray the chipboard and not the paper(sometimes it soaks through the paper so I always spray the thicker material I'm using).

Trim up the edges and tack on your spinner. Make sure your thumbtack isn't pressed all the way in, so the spinner has room to spin of course. And to avoid being pricked by the tack, take some pliers and bend the bottom of the tack under.

And there you go, your ready to battle it out finger style!
(By the way my printer was running out of ink, Your colors will be way more vibrant)

Simple,fast and fun... perfect stocking stuffer for those game lovers!

November 21, 2011

Toy Story Finger Puppets

My son was invited to a Toy Story themed birthday party this week so we were racking our brains trying to come up with something a little 3year old would love. I knew that the birthday boy had a few finger puppets that he loves, and he's also adores Toy Story, so what better gift then Toy Story finger puppets.

First I had to decide which characters would be the easiest to make in finger puppet form. The winners...Alien, Lotso, and a rocket ship(for alien of course). Using felt I cut out all of the pieces that I needed to make up my puppet. You can either sew each individual piece on, or hot glue them on, whichever you prefer. I sewed Alien, but I was running out of time so I hot glued Lotso and the spaceship pieces to them.

When sewing on the pieces that will be on the outer edges of the finger puppet, such as the arms, ears, wings of the rocket, make sure you lay them to the inside of the puppet before you sew the outer edge.

After all your pieces are in place, lay right sides together and sew around the outer edges.(I backstitched a few times at the ends, just to make sure the felt wouldn't come apart after they got played with a few time). Flip the puppets right-side out and your done.

I used permanent markers for Alien and Lotso's mouth and eyes.

I know when your young homemade gifts can be kind of lame, but since he's only 3 I'm hoping he thinks there cool, because I sure do!
Blogging tips