Showing posts with label No Sew. Show all posts

June 28, 2012

Dumpster Deal {Frame Makeover}

Don't you LOVE it when you go to take your trash out and you find a SWEET piece of potential in the dumpster! I mean come on who would even throw this GIANORMOUS piece of artwork in the trash. (Still had wrapping on it and a $200.00 price tag...WHAT??) I know, crazy right? I was kind of in heaven as I tried very discreetly to LUG this large beast behind our building and into my garage before anyone saw me.

Trust me people, pictures do not do this thing justice...It's LARGE beyond belief, like when I stand next to it it comes almost up to my chest. So I probably could have done something extra cool with it if I had a LARGE house...but I don't, so it would have looked real silly in my living room with a GIANT family picture in it (Although can you imagine how cool it would be to have a life size family picture?)
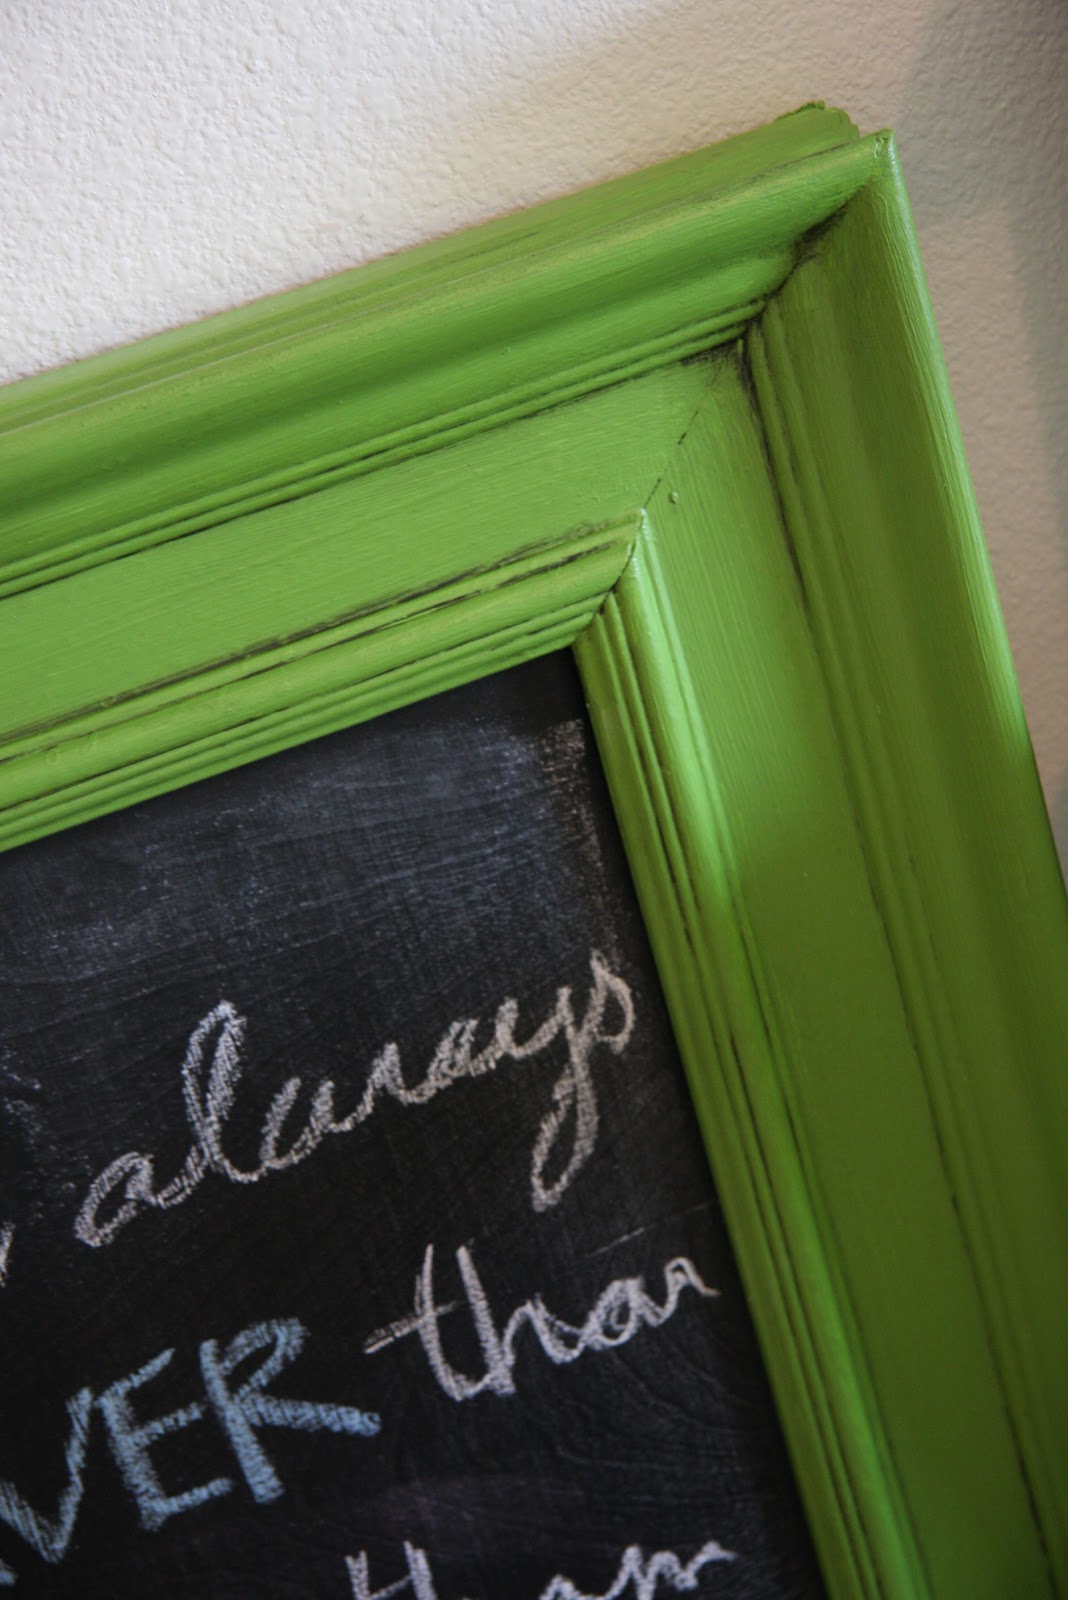
So an extra large chalkboard in my boys room was the next best thing. Turns out I LOVE IT...and so does my son.

 I wasn't to worried about painting the frame with heavy duty paint so I used a regular acrylic paint, A mixture of Martha Stewart "Green Curry", "Spring Pasture", & "Green Olive".
  
 Bought a piece of plywood from Lowes and had it cut to size, then painted it with Martha Stewart chalkboard paint. I Actually didn't prime it first, which might have been smarter, then I wouldn't have had to do as many coats, but...it worked out fine without the primer. I also glazed it when I was done to give it a little distressed look.

TOTAL COST = $25.00 (All supplies to make chalkboard & hanging tins)
The Tin buckets I found at Michael's on the sale rack, I just painted a little chalkboard paint on them to spice them up a bit and give them a label.


Now can we all give a BIG{THANK YOU} to the kind of people that throw away extra awesome things.
Oh yeah, P.S. Last week I got a grill out of the trash because someone didn't want to move it with them...and yes, we already had a delicious BBQ with it!

Don't worry I don't really dig in the trash for these things, people just leave them laying by the side!!!  

March 8, 2012

Ruffle Frame


I had this frame laying around that was in desperate need of a little beauty, it even had a sweet fuzzy little rocking horse stuck to the top of it...to bad I ripped it off before I got a picture.

 
I took the frame apart and covered the entire thing in white fabric, just to be sure the blue checkers didn't show through. If I were using any color besides white I probably would have glued the ruffles on without pre covering it.

Tore up 2" strips, then I ended up glueing them in half because I decided I didn't want the frayed look anymore.

Then I glued...and glued, and glued. Squirt a long line of hot glue and lay the fabric on it, wrinkling/ ruffling it as you go.


Then I decided it needed a little color, but didn't want to designate the frame to one certain holiday....so I added a square of velcro so I can change out my flowers every holiday!

December 6, 2011

Ornament Popcorn Balls

My mother-in-law sent us a package for the 12 days of Christmas, and we decided to get started a little early. Tonight's card said, "finish the inclosed craft", and it just so happen to be the neatest thing ever that I thought I better share.

These ornaments look beautiful on your tree, and they are so fun and easy to make! Any guesses on how in the world you get fully popped popcorn in a glass bowl?

Supplies
* Clear glass ornament
* Popcorn Kernels
* Ribbon, Vinyl, Stickers or anything you would like to decorate you ornament with.

First remove metal lid from glass ball.

Count out 25-30 kernels of popcorn and place in glass ball.

Place the glass ball in a brown paper bag and fold down the top of the bag, place bag in microwave.

Push the popcorn cycle button on your microwave. Listen for the popcorn to stop popping (Do not over cook).

* Remove and cool.
* Shack out any popcorn that did not pop.
* Replace the metal lid.

With glue gun attach your ribbon, or decorate how you would like.

Hang your popcorn ball on your tree and enjoy!

* some microwaves may not be powerful enough to pop all the kernels through the glass. If your ball is not as full as you would like, push in a few small pieces of already popped popcorn to fill to the desired amount.*

December 1, 2011

Finger Twister

I have been racking my brain trying to come up with a few simple stocking stuffers and today an idea hit me. I saw these cute little finger twister boards but was not about to actually pay money for them... I figured It wouldn't be to hard to make something similar on my own.
So if your interested in making your own go ahead and save these images to your computer and print them out on a regular size paper, they will end up being 5X5-6X6in' squares.

All you'll need is the images of the twister board and spinner that you print out, some sort of cardboard/chipboard(you could even use a cereal box), glue, a spinner, and a thumbtack.

You can make your spinner from cardboard or any stiff object you can think of...I got lucky and found these plastic arrows in our gogurt box(a free gift to help you roll your gogurt). ha ha Bet gogurt didn't know how perfect they would be for my finger twister board!!

First cut out your boards and glue them onto your chipboard. If by chance you are using spray glue like I did, make sure you spray the chipboard and not the paper(sometimes it soaks through the paper so I always spray the thicker material I'm using).

Trim up the edges and tack on your spinner. Make sure your thumbtack isn't pressed all the way in, so the spinner has room to spin of course. And to avoid being pricked by the tack, take some pliers and bend the bottom of the tack under.

And there you go, your ready to battle it out finger style!
(By the way my printer was running out of ink, Your colors will be way more vibrant)

Simple,fast and fun... perfect stocking stuffer for those game lovers!

May 31, 2011

Frame & Cork board Remodel

My cousin just moved into an apartment up at the BYUI so she needed a little decor to spice the place up.


Check out our sweet finds from...you guessed it the D.I.
Giant yellow cork board & a random pink wall frame that I don't have a before picture of =$2.50


* * * * * * *


My personal favorite, good thing the purple doesn't match my house or I might have had a hard time letting her take it home.

Total remodel all under $10

Thanks for letting me help you Sadie...it made my day!

Blogging tips