Showing posts with label Frames. Show all posts

June 28, 2012

Dumpster Deal {Frame Makeover}

Don't you LOVE it when you go to take your trash out and you find a SWEET piece of potential in the dumpster! I mean come on who would even throw this GIANORMOUS piece of artwork in the trash. (Still had wrapping on it and a $200.00 price tag...WHAT??) I know, crazy right? I was kind of in heaven as I tried very discreetly to LUG this large beast behind our building and into my garage before anyone saw me.

Trust me people, pictures do not do this thing justice...It's LARGE beyond belief, like when I stand next to it it comes almost up to my chest. So I probably could have done something extra cool with it if I had a LARGE house...but I don't, so it would have looked real silly in my living room with a GIANT family picture in it (Although can you imagine how cool it would be to have a life size family picture?)
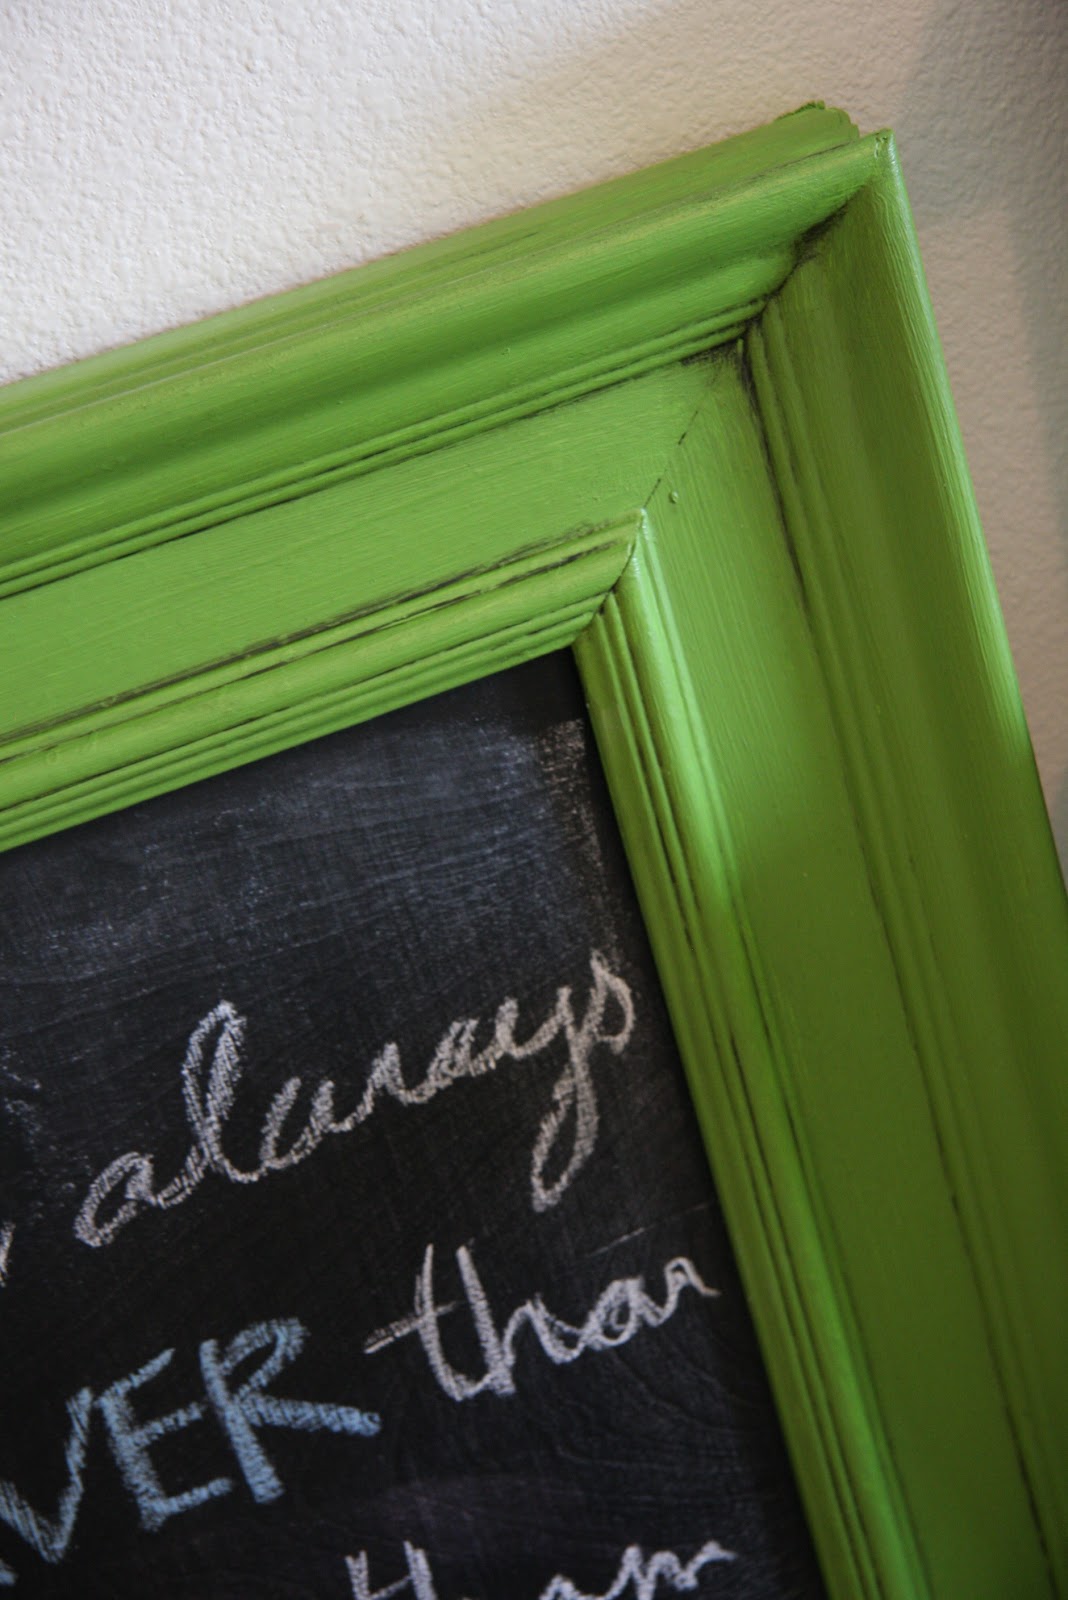
So an extra large chalkboard in my boys room was the next best thing. Turns out I LOVE IT...and so does my son.

 I wasn't to worried about painting the frame with heavy duty paint so I used a regular acrylic paint, A mixture of Martha Stewart "Green Curry", "Spring Pasture", & "Green Olive".
  
 Bought a piece of plywood from Lowes and had it cut to size, then painted it with Martha Stewart chalkboard paint. I Actually didn't prime it first, which might have been smarter, then I wouldn't have had to do as many coats, but...it worked out fine without the primer. I also glazed it when I was done to give it a little distressed look.

TOTAL COST = $25.00 (All supplies to make chalkboard & hanging tins)
The Tin buckets I found at Michael's on the sale rack, I just painted a little chalkboard paint on them to spice them up a bit and give them a label.


Now can we all give a BIG{THANK YOU} to the kind of people that throw away extra awesome things.
Oh yeah, P.S. Last week I got a grill out of the trash because someone didn't want to move it with them...and yes, we already had a delicious BBQ with it!

Don't worry I don't really dig in the trash for these things, people just leave them laying by the side!!!  

April 24, 2012

Painted Frame & Mat


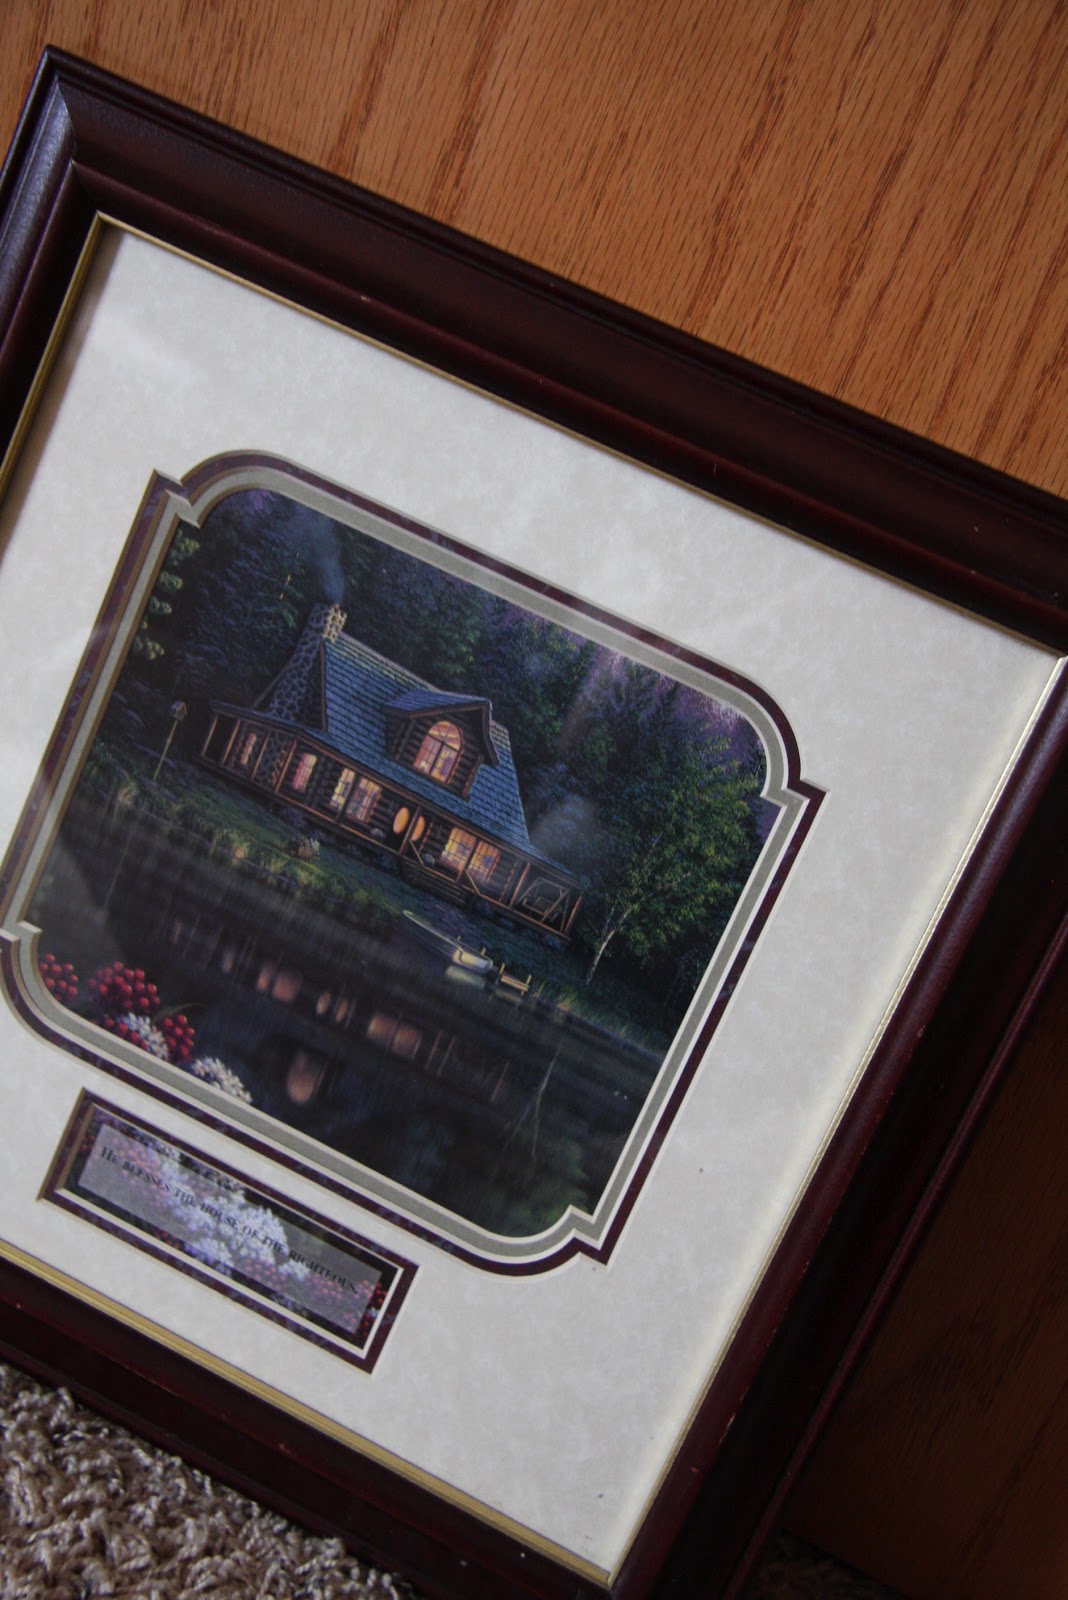
 I had this picture my mom gave me a few years ago, but I now have nowhere to hang it. It is a pretty picture and I love the shape of the mat so I wasn't about to get rid of it, it just needed a new look so I could hang it in the new nursery/toddler room! 


I cut out a chevron stripe on my cricut and used it as a stencil to trace the lines onto the mat. Then I painted...and painted. (Painting each layer of the mats a different color, which you can see in the picture below)

I Replaced the picture with some scrapbook paper for now....at least until I have an adorable picture of the little boys together(whenever new little man arrives). 

Because the curtains are chevron stripe, I didn't want to go to overboard with more stripes...so I think the painted mat was the perfect touch to bring in more chevron stripes but in a very small amount.

March 13, 2012

Spring Decor - Frame Revamp

The weather is warming up and I am getting so excited for spring!
(And excited to make fun bright spring decorations)
 I wanted to incorporate lots of colors into this frame so it would match any decor I pulled out. So I dug threw my scraps and made a bunch of fabric flowers (the hot glued kind...so they are fast and easy!) Oh yeah, I also threw in two felt flowers to give it a little texture contrast.

I was actually using this frame so I wasn't sure if I should us it, but I'm so glad I decided to give it a little face lift. It's looking way cuter now, it's incredible what a fresh coat of paint can do.

I cut out the word "SPRING" with my Cricut using Sure Cuts A Lot so I could choose any font I wanted. Peeled away all the excess vinyl that I didn't was to transfer, and laid on my transfer paper.
 If you haven't ever used the transfer paper when using vinyl...you should it's a must. It keeps the letters together and where they should be, saves lots of time.
 Centered the word on the cleaned glass, peel off the transfer paper, and your done!

Originally I intended to leave the back off the frame so it was just the glass, which looked incredibly adorable, but all the walls in my house are white, so the contrast between the white frame and the white walls wasn't going over so well. 

 So I added the blue paper to make it stand out a little better. But if you have colored walls, I definitely suggest leaving the back off, I love the look of the the vinyl on the glass alone.


March 8, 2012

Ruffle Frame


I had this frame laying around that was in desperate need of a little beauty, it even had a sweet fuzzy little rocking horse stuck to the top of it...to bad I ripped it off before I got a picture.

 
I took the frame apart and covered the entire thing in white fabric, just to be sure the blue checkers didn't show through. If I were using any color besides white I probably would have glued the ruffles on without pre covering it.

Tore up 2" strips, then I ended up glueing them in half because I decided I didn't want the frayed look anymore.

Then I glued...and glued, and glued. Squirt a long line of hot glue and lay the fabric on it, wrinkling/ ruffling it as you go.


Then I decided it needed a little color, but didn't want to designate the frame to one certain holiday....so I added a square of velcro so I can change out my flowers every holiday!

August 30, 2011

Frame Remodel - Living Room Edition

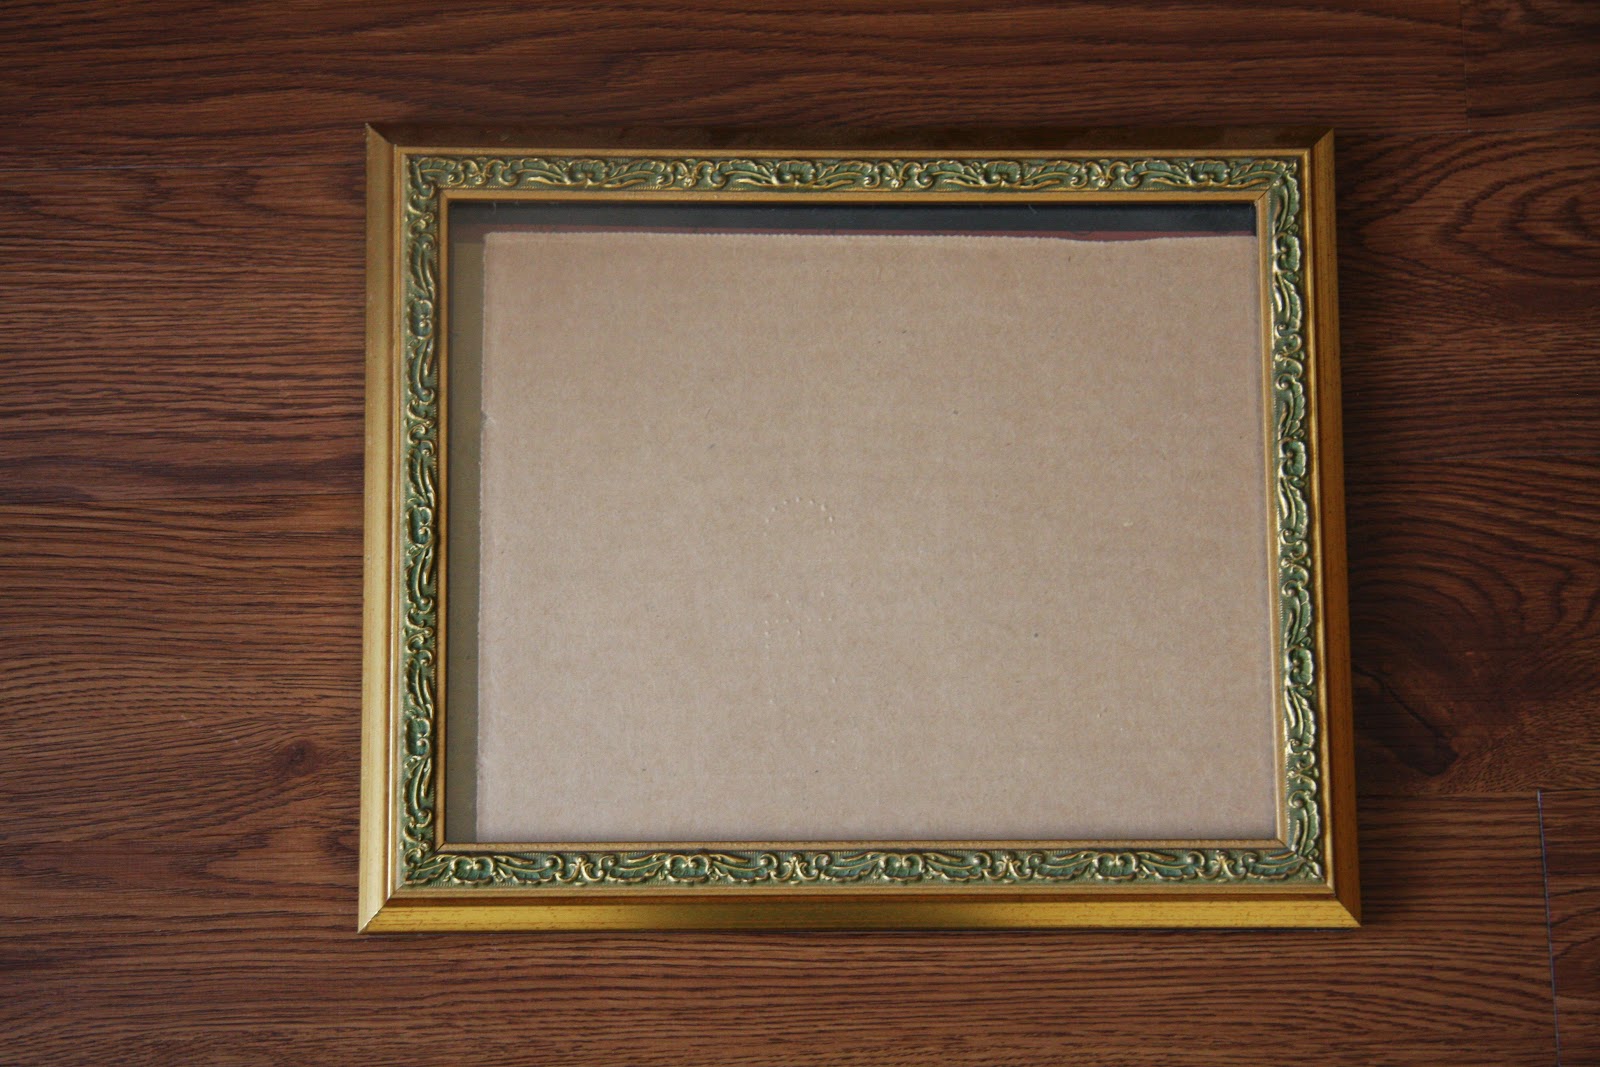
I had this frame laying around our house with plenty of potential, it just needed a fresh coat of paint.
We have tons of picture in our living room already, so I really wanted to change things up. My husband speaks french and one of the only words I ever remember that he has taught me is of course... I Love You! So here is what I came up with, I Love You Forever. My husband was very proud when he walked in the door and saw a french saying framed...and I even spelled it write (with a little help from the internet or course).

Since it has fun little design in the corners I thought it would be perfect to glaze and bring out the detail. I turned out pretty cute and matches our newly refinished table!

June 1, 2011

Frame Remodel

When I was home last I went through my moms throw away pile (my favorite thing to do when I'm home) and found this. She's as beauty right?...Well she has potential.

I had a different vision in mind, but half way through the project realized how cute "the idea" would look on something else. So one day when it is finished I'll post it, you should be excited...I am!

I have been making flowers like crazy and figured I could use them for something other than my head.

You may also have noticed that the color and the zebra stripes don't match my house
. . . yet!

Stay tuned for the house redecorating process (Beginning the day I move in to our new place and I can't wait).

May 20, 2011

Frame Remodel - Bathroom Edition

It’s official, my walls have run out of room…it’s a good thing were moving! As I walked in the door the other day frame in hand, Skyler looked at me with a rather disappointed face and said, “ Another frame, we don’t have room for another frame”. So I promised I would think of something to do with it for the extra bathroom our new place has, he was OK with that and let me keep it!

(He's so sweet to put up with me and my D.I. junk)


There are so many ways I can decorate a new bathroom, where to begin... I decided to stick with every fun bright color to get me started. I thought the teeth theme was rather fitting so here is what I came up with.

The pictures don’t do this frame justice; in real life it’s BIG, BULKY, & BEAUTIFUL! (You should see the thing)


*** DON’T FORGET TO BRUSH YOUR TEETH***


August 17, 2010

Frame Remodel

I was digging through my cedar chest the other day and found this frame that I got as a high school graduation present.(Pretty sweet huh? Check out those pictures!) Why I kept in all this time, not really sure. I pulled it out and thought, this definitely needs a makeover.

After completely covering the original frame I’d say it turned out fairly cute... I mean there’s NO comparison from before! Haha I can gladly display it in my home now.

***

Such a good feeling getting rid of stored away stuff, especially when you can make it cute and use it!

Blogging tips