March 29, 2012

DIY Typography Sign

I saw this saying and fell in love...but not with the price these kinds of signs are selling for. So I made my own in under $2.00...YES I did just say $2.00

I asked my Father-in-law if he had any scrap wood and it just so happened he had 1 piece in his garage that was perfect size. (Let's be honest, this is a nice piece of pine and fairly big, so I'm pretty sure he was just being extra nice to me...cause this is one nice "scrap" piece of wood). He even sanded it and got it all ready for me to paint, he's too good!! The size of the wood is 15 1/2 X 24. 


I wanted to the words to be white so I painted the top...white, two coats was plenty. (I used cheap bottles of acrylic paint from Hobby Lobby)

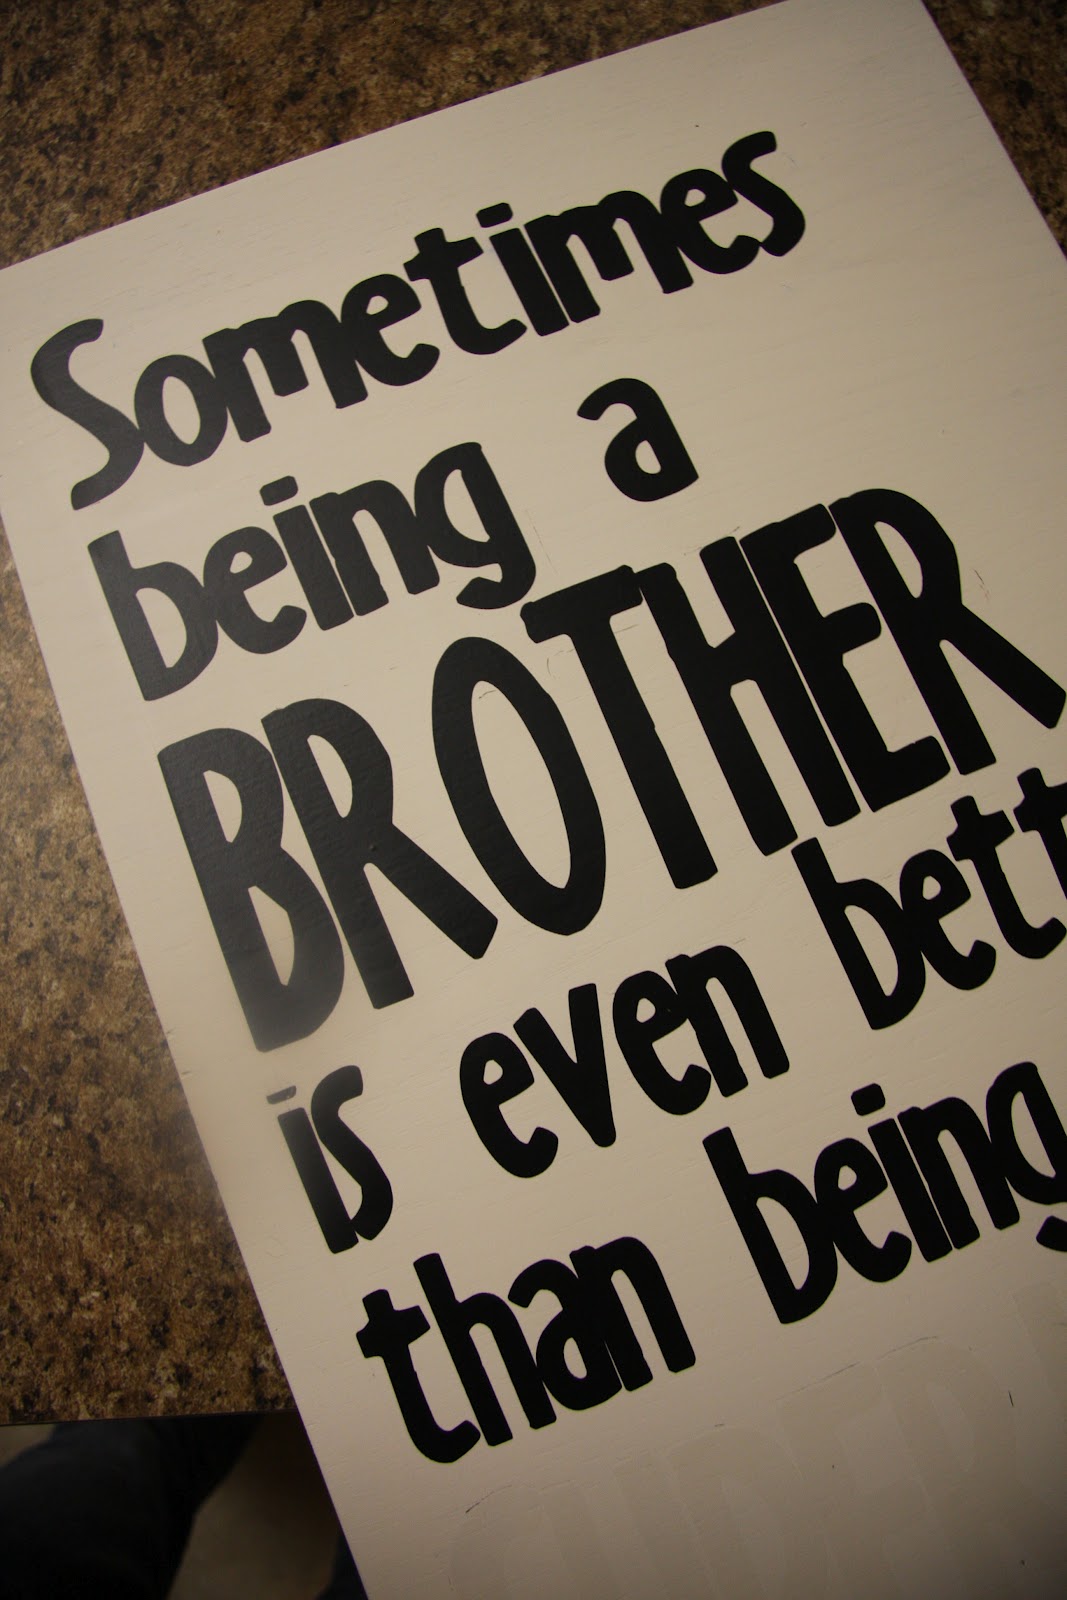
After it dried I put the letters on it. I cut the letters out of vinyl on my Cricut, and used transfer paper to stick it to the wood. If you notice the word "SUPERHERO" I cut it out of that cheap roll of clear laminate you can buy at Wal-Mart. Because it's clear It was definitely hard to see the word through the transfer paper to make sure it's going on straight, but if your willing to take a little more time it works great.

After the words were on where I wanted them I painted a final blue coat (I think I did 2 coats of the blue paint as well). Wait for your sign to dry, peel off the letter carefully, making sure you don't pull the paint off the rest of your sign, and your done.
This is the laminate paper I used...Duck Laminate Peel and Stick Shelf Liner, Clear = $5.48 at Wal-Mart.(It's a big roll, you'll use it for MANY projects)
And if you can't find yourself a free piece of scrap wood, you can get a cheap piece at home depot or Lowes for $5-$10 and have your sign done in under $10-$20....much better than the $60 there selling for.

March 26, 2012

DIY Storage Boxes

I was cleaning out my pantry when I realized these empty easy mac boxes would be perfect size for storage bins....but they were ugly.

 I had a white pillow case in my scrap box so I pulled it out and glued it on the boxes. (I covered the box in paper first, cause I was afraid the words would show through).

 Sprayed the boxes in spray glue, laid the fabric on the box, hot glued the bottom/tops, and glued some cute paper on the inside and had myself a couple of storage bins for...FREE!

 (Sorry for the bad photos...I was in the middle of spring cleaning and didn't want to take anymore time making my pictures look good.)

March 13, 2012

Spring Decor - Frame Revamp

The weather is warming up and I am getting so excited for spring!
(And excited to make fun bright spring decorations)
 I wanted to incorporate lots of colors into this frame so it would match any decor I pulled out. So I dug threw my scraps and made a bunch of fabric flowers (the hot glued kind...so they are fast and easy!) Oh yeah, I also threw in two felt flowers to give it a little texture contrast.

I was actually using this frame so I wasn't sure if I should us it, but I'm so glad I decided to give it a little face lift. It's looking way cuter now, it's incredible what a fresh coat of paint can do.

I cut out the word "SPRING" with my Cricut using Sure Cuts A Lot so I could choose any font I wanted. Peeled away all the excess vinyl that I didn't was to transfer, and laid on my transfer paper.
 If you haven't ever used the transfer paper when using vinyl...you should it's a must. It keeps the letters together and where they should be, saves lots of time.
 Centered the word on the cleaned glass, peel off the transfer paper, and your done!

Originally I intended to leave the back off the frame so it was just the glass, which looked incredibly adorable, but all the walls in my house are white, so the contrast between the white frame and the white walls wasn't going over so well. 

 So I added the blue paper to make it stand out a little better. But if you have colored walls, I definitely suggest leaving the back off, I love the look of the the vinyl on the glass alone.


March 8, 2012

Ruffle Frame


I had this frame laying around that was in desperate need of a little beauty, it even had a sweet fuzzy little rocking horse stuck to the top of it...to bad I ripped it off before I got a picture.

 
I took the frame apart and covered the entire thing in white fabric, just to be sure the blue checkers didn't show through. If I were using any color besides white I probably would have glued the ruffles on without pre covering it.

Tore up 2" strips, then I ended up glueing them in half because I decided I didn't want the frayed look anymore.

Then I glued...and glued, and glued. Squirt a long line of hot glue and lay the fabric on it, wrinkling/ ruffling it as you go.


Then I decided it needed a little color, but didn't want to designate the frame to one certain holiday....so I added a square of velcro so I can change out my flowers every holiday!

March 1, 2012

St. Patrick's Day Subway Art

Here's a little subway art to get you into the green mode, and start your St. Patties day decor !


Enjoy!
Blogging tips